

This pattern contains a link to my Craftsy store. You can download it (and all my other patterns) for free. The registration with Craftsy is FREE as well...and you might also find other amazing patterns there!
Hi there,
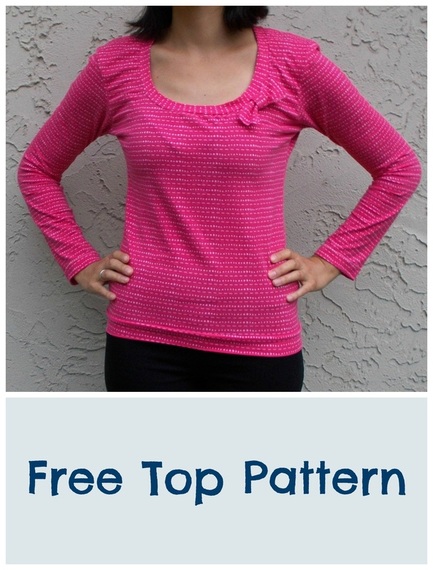
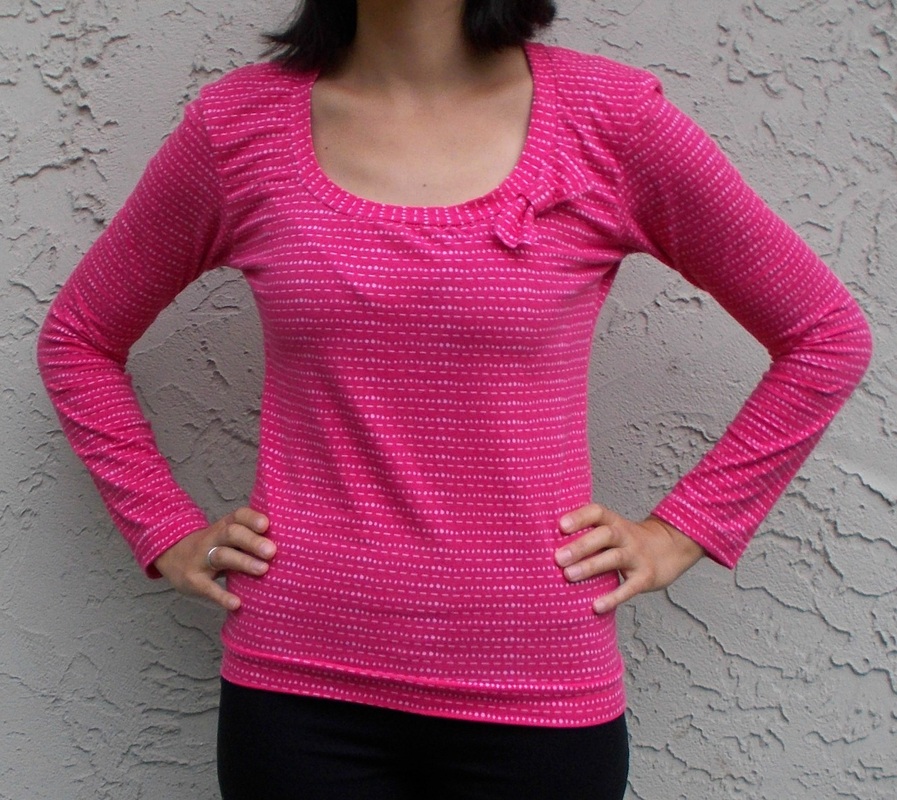
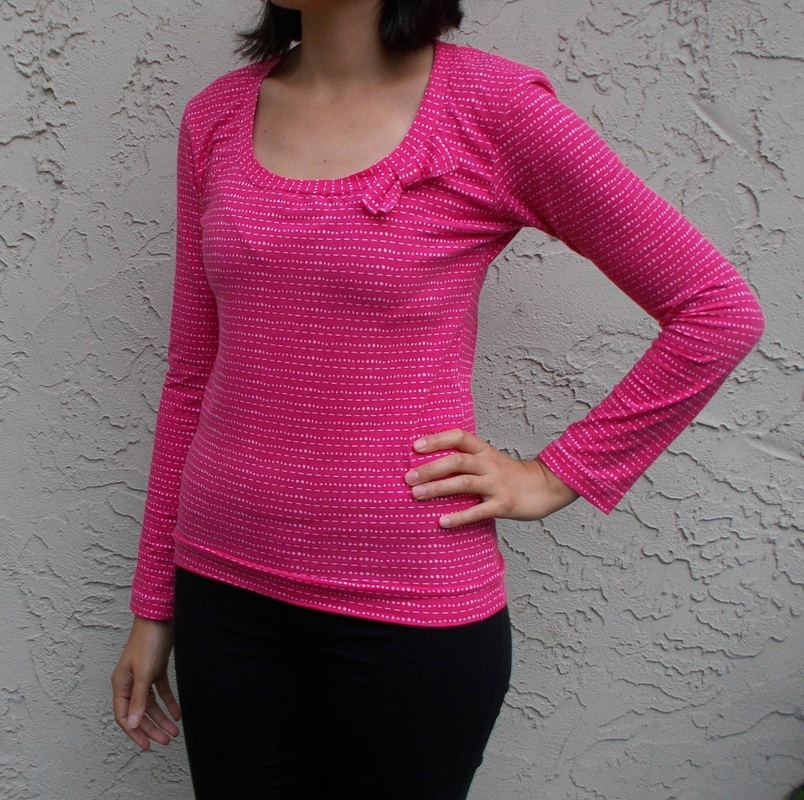
Thanks for stopping by today. I have created this lovely, long sleeves/ broad rounded neckline with a feminine touch (a.k.a. the little bow on the side LOL)
The fabric
I chose the Les Points in Rose from Art Gallery Fabrics to create this top.
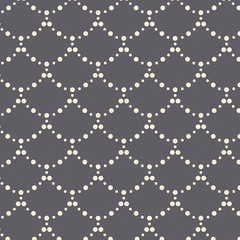
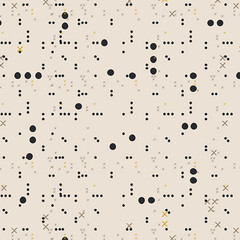
IF you are not into pink, great options will be:
Thanks for stopping by today. I have created this lovely, long sleeves/ broad rounded neckline with a feminine touch (a.k.a. the little bow on the side LOL)
The fabric
I chose the Les Points in Rose from Art Gallery Fabrics to create this top.
IF you are not into pink, great options will be:


Materials
Printed patterns
Matching thread
Ballpoint needle
Scissors
Click here for the Measurement Chart
Printing Instructions:
This printable PDF pattern is assembled BY OVERLAPPING THE PAGES 1/2 centimeter. That will make it easier to assemble and avoid further fitting issues.
The pattern comes in letter size paper.
To print this pattern, go the PDF document. Select FILE -- PRINT.
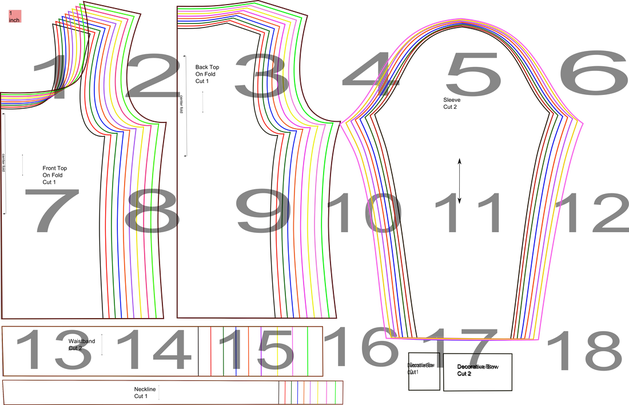
This will be the layout of your pattern:
It will print 18 pages. Wait until all the pages are printed before taking them from the printer; it will make it easier to assemble.
When finish printing, place the pages as the layout below. Then use tape to put them together. Now cut the pieces.
You can also check here for a step-by-step tutorial
Printed patterns
Matching thread
Ballpoint needle
Scissors
Click here for the Measurement Chart
Printing Instructions:
This printable PDF pattern is assembled BY OVERLAPPING THE PAGES 1/2 centimeter. That will make it easier to assemble and avoid further fitting issues.
The pattern comes in letter size paper.
To print this pattern, go the PDF document. Select FILE -- PRINT.
This will be the layout of your pattern:
It will print 18 pages. Wait until all the pages are printed before taking them from the printer; it will make it easier to assemble.
When finish printing, place the pages as the layout below. Then use tape to put them together. Now cut the pieces.
You can also check here for a step-by-step tutorial
Sometimes, there are problems with the printing process and the patterns come in the wrong size (a little bit smaller).
To avoid this, check the 1 inch square inside of the front bodice pattern. It will help you to see if the patterns are the correct size.
The PDF pattern comes in sizes from 4 to 22 (US Size). If you have any doubts about the sizes, please refer to the body measurement chart above.
The colors for each size are:
Size
4: Black
6: Red
8: Green
10: Blue
12: Orange
14: Purple
16: Yellow
18: Pink
20: Light Green
22: Brown
This pattern comes with a 1/2 inch seam allowance, unless indicated otherwise.
Yardage:
For 60'' wide fabric: 1 1/2 yards
Thanks for visiting us!
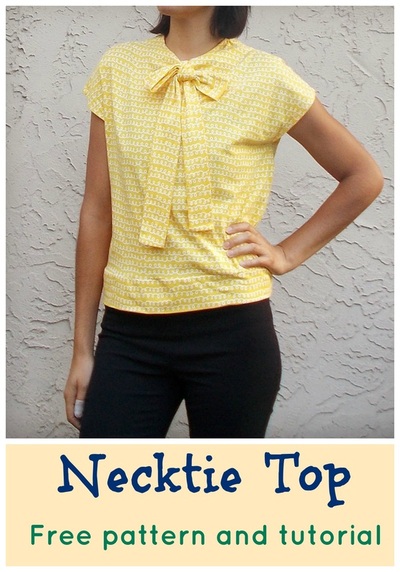
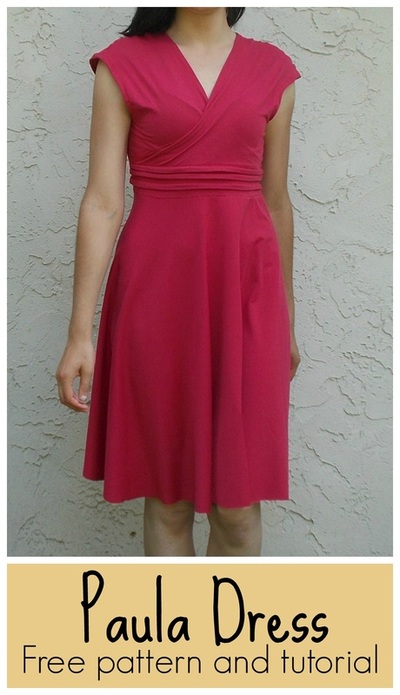
You might also like:


 RSS Feed