


| | | | |
Hello Everybody!
Thanks for coming by today to check this easy and always practical tutorial on how to make an insulated car seat organizer.
I have been working with my friend Deby at so-sew-easy to put these baby-friendly /mom-ready tutorials. I hope you enjoy them!!! :)
Thanks for coming by today to check this easy and always practical tutorial on how to make an insulated car seat organizer.
I have been working with my friend Deby at so-sew-easy to put these baby-friendly /mom-ready tutorials. I hope you enjoy them!!! :)

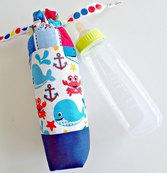
Insulated Baby Bottles
What a great idea! Deby has created these insulated baby bottles for the moms on the go, who wants to keep the milk on the right temperature.
To see more about them, click in the images below:
To see more about them, click in the images below:
 |  |
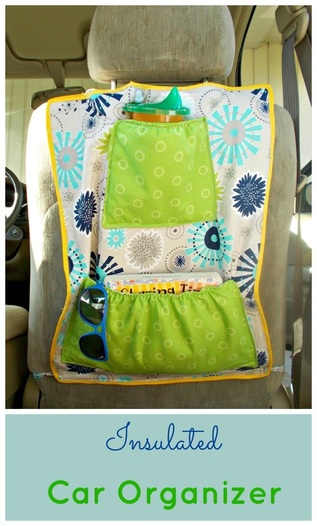
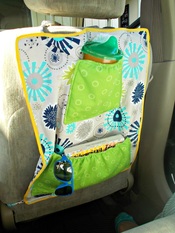
Car Seat Organizer
I have created this car seat organizer with an insulated backing that will keep my son's snacks and milk fresh and cool for him.
For the pattern, please visit my store at Craftsy by clicking the blue button below
I have created this car seat organizer with an insulated backing that will keep my son's snacks and milk fresh and cool for him.
For the pattern, please visit my store at Craftsy by clicking the blue button below
Tutorial
| 1. Fold the straps length wise and iron flat. 2. Open and fold both sides to the middle. Iron flat again. 3. Fold it again and iron flat. Stitch both sides of the strap length wise. Pockets 4. Place the insul bright in the back of the pocket facing piece. 5. Stitch around the insul bright area. 6. Place the front piece with the facing. 7. Place the elastic and pin to the top left corner. 8. Stitch around the area, leaving a 4 inches opening to turn the pocket around. Organizer 9. place the insul bright and the organizer facing together and sew along the edges. 10. Place the organizer with the facing together, right sides facing and stitch around the edges again. Leave a 4 inches opening to turn around. 11. Close the opening and put the contrasting bias tape around the edges. 12. Place the straps and stitch them in place. 13. Finish the straps by folding the ends and stitch. 14. Place both pockets on the organizer. Pin and sew along the bottom and sides. | 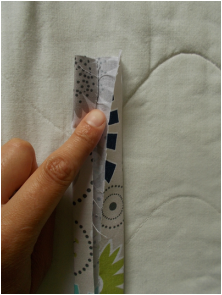 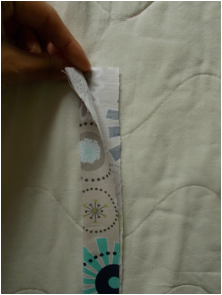 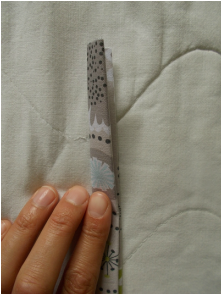 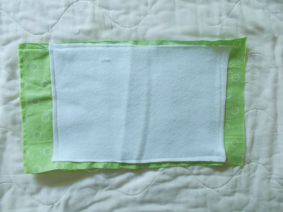 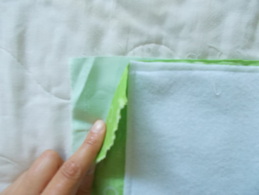 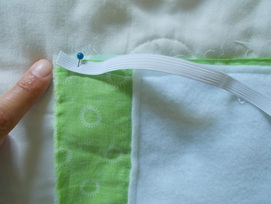 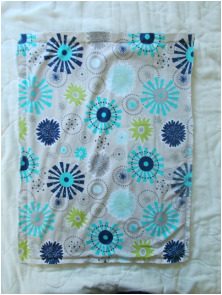 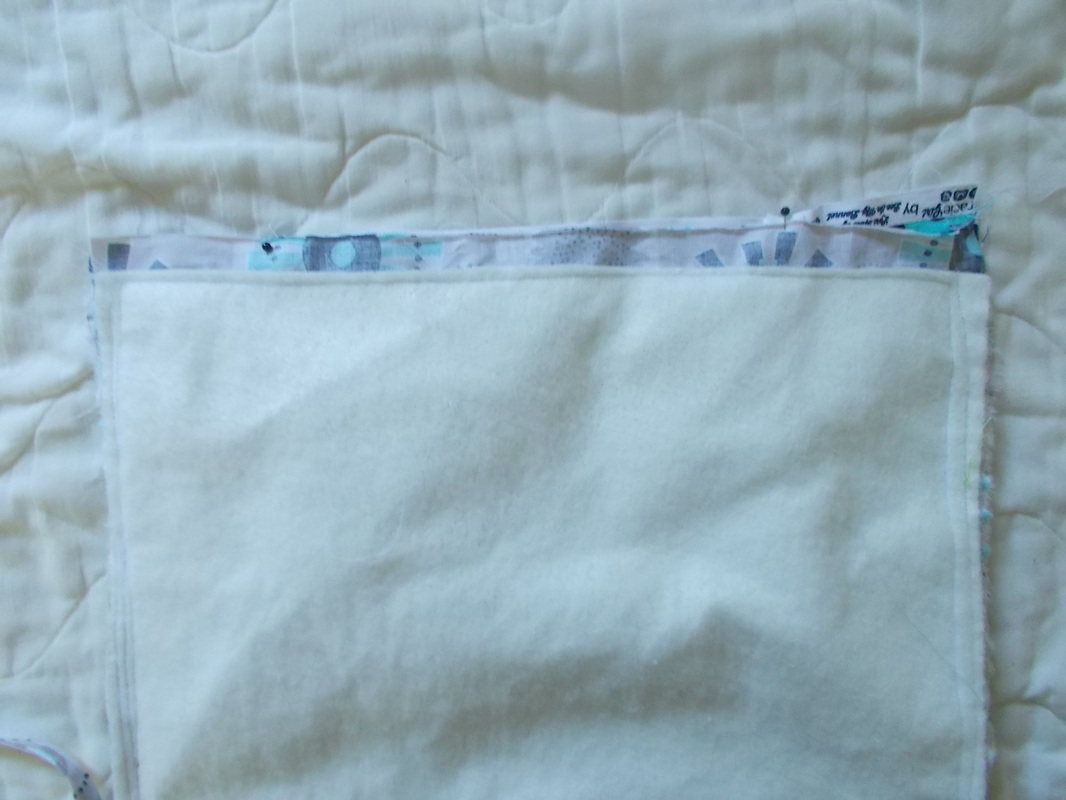 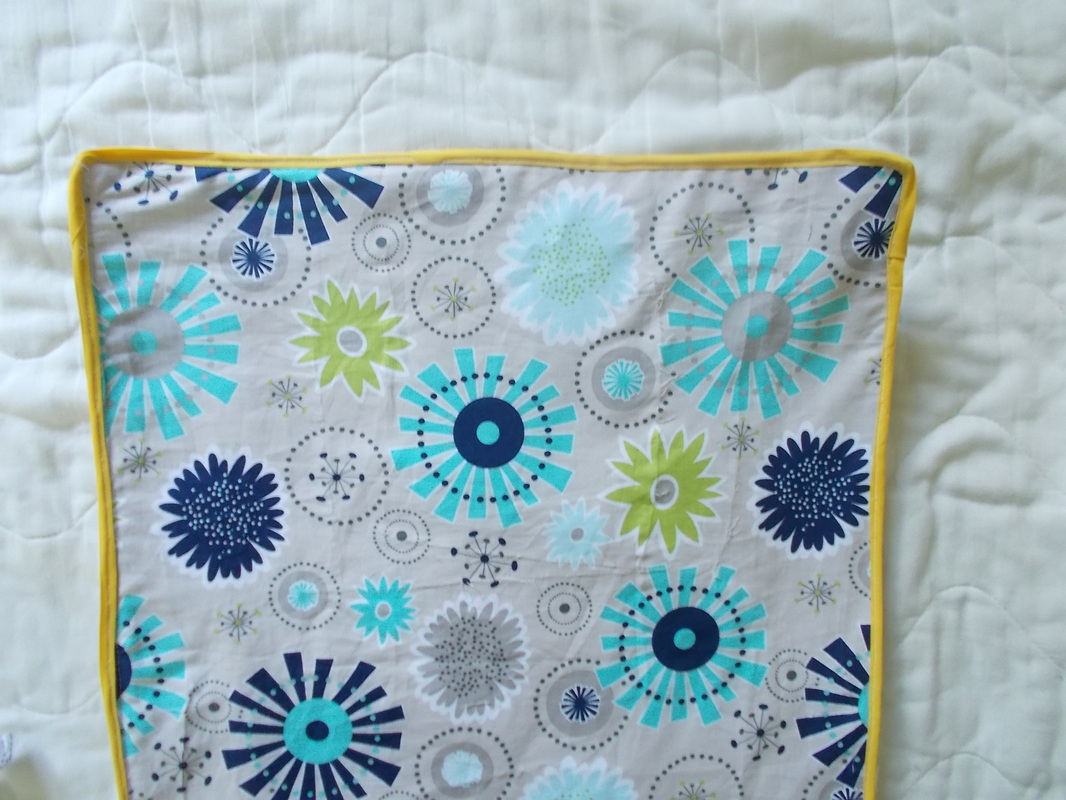 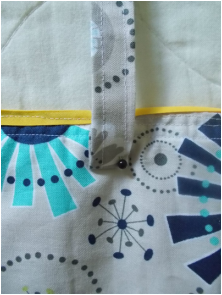 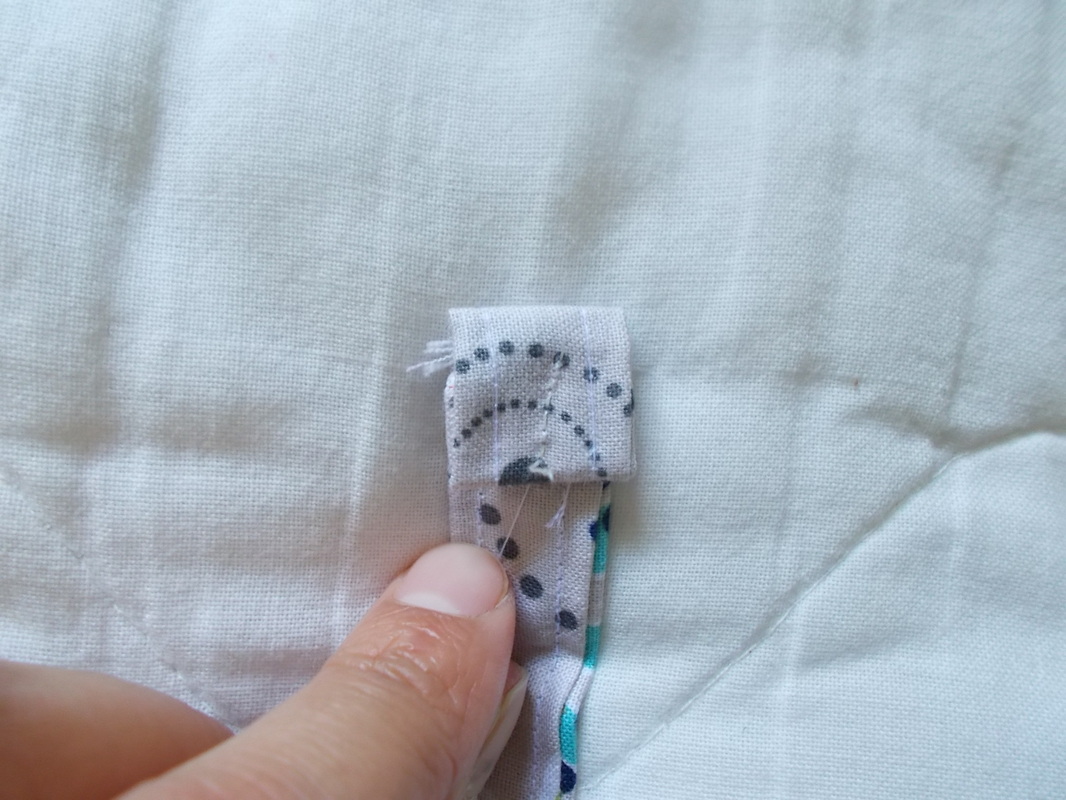 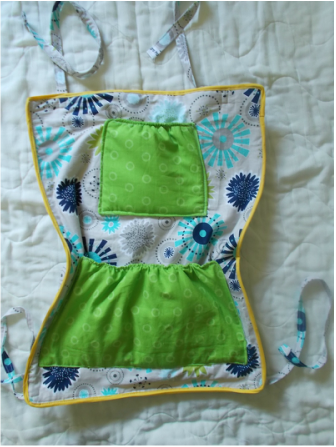 |
And it is done!!!
Thanks for reading this tutorial and do not forget to visit Deby at So-sew-easy.com for your insulated baby bottle :)
Thanks for reading this tutorial and do not forget to visit Deby at So-sew-easy.com for your insulated baby bottle :)
You might also be interested in:


 RSS Feed