


| | | | |
Hi Guys,
This is the contribution of Veronica, fromUVE De Veronica Blog.
She has agreed to contribute with On the Cutting Floor today and present us her beautiful handmade stamps. In this post, she will teach us how to make one!
Remember to visither blog and say hi for me ;)
STAMPS
This is the contribution of Veronica, fromUVE De Veronica Blog.
She has agreed to contribute with On the Cutting Floor today and present us her beautiful handmade stamps. In this post, she will teach us how to make one!
Remember to visither blog and say hi for me ;)
STAMPS
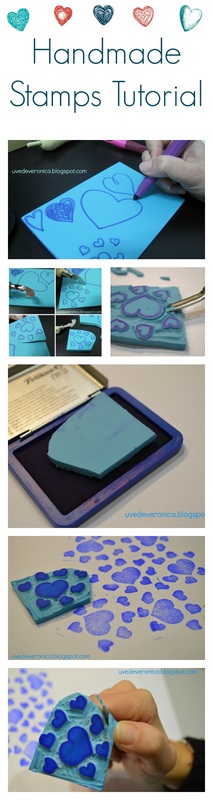
For carving your own stamps, you’ll need:
· Linoleum cutters
· A pencil or a pen
· A carving block
· Cutter
· Colored ink pads
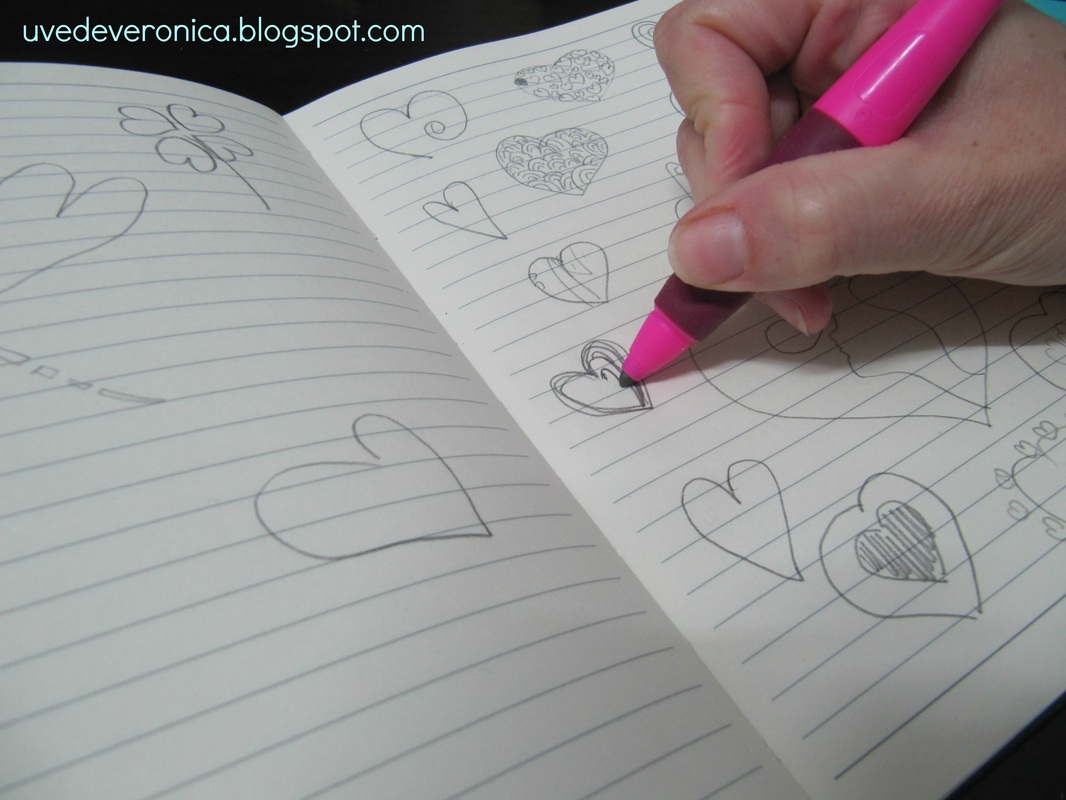
The first thing I do is to draw on a paper a sketch of what I want to stamp until I get it correct. If you’re not an expert, you've to bear in mind the difficulty. There are really pretty pictures that are very difficult to carve, so for beginners I recommend easy silhouettes.
· Linoleum cutters
· A pencil or a pen
· A carving block
· Cutter
· Colored ink pads
The first thing I do is to draw on a paper a sketch of what I want to stamp until I get it correct. If you’re not an expert, you've to bear in mind the difficulty. There are really pretty pictures that are very difficult to carve, so for beginners I recommend easy silhouettes.
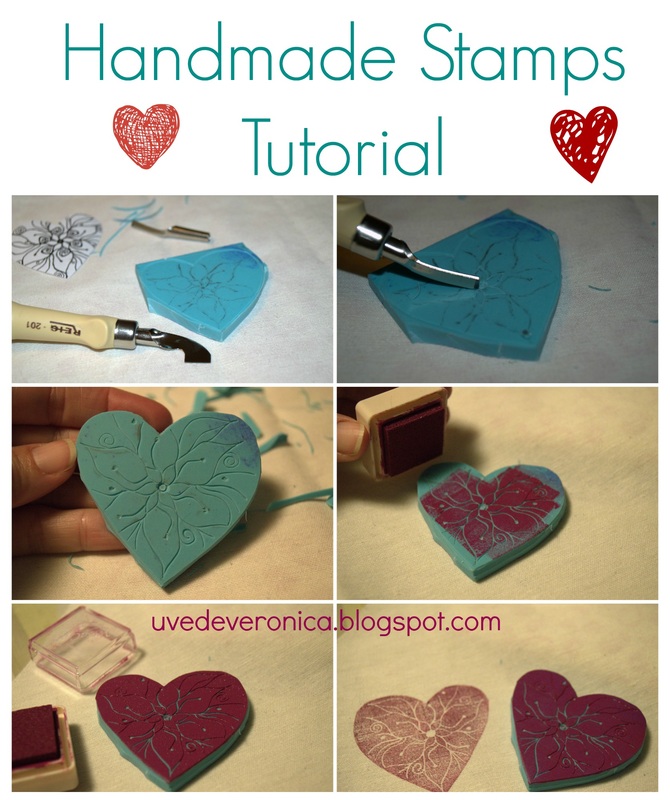
There are two different kinds of stamps: positive and negative. In this post I’ll show you both of them. In the following pictures you'll see the difference
Positive stamp: you only stamp the silhouette. You don’t carve the sketch you’ve just done.
Negative stamp: it’s the other way around. You only carve the sketch and you stamp everything except the silhouette or letters.
Positive stamp: you only stamp the silhouette. You don’t carve the sketch you’ve just done.
Negative stamp: it’s the other way around. You only carve the sketch and you stamp everything except the silhouette or letters.

In general, the negative stamp is easier and faster to carve than the positive one.
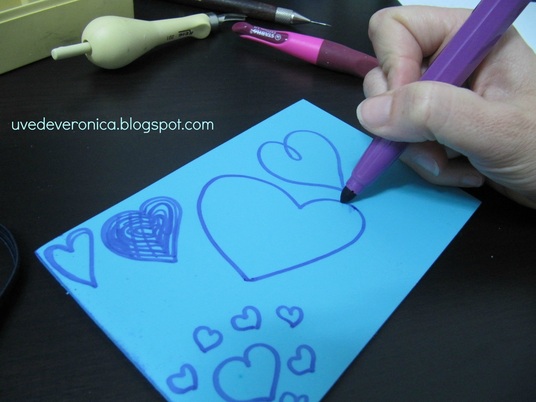
Once I have chosen the sketch, I draw it on the carving block. This time I have drawn it directly in the block, but you can transfer it with a paper.
Once I have chosen the sketch, I draw it on the carving block. This time I have drawn it directly in the block, but you can transfer it with a paper.
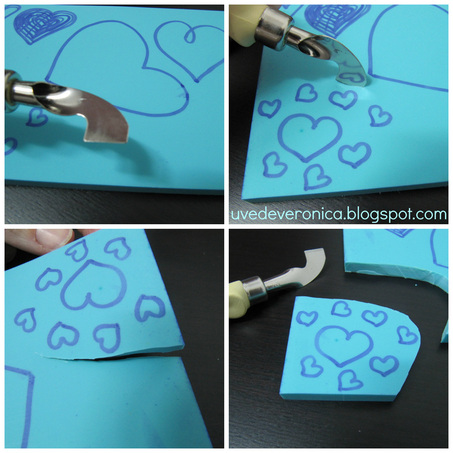
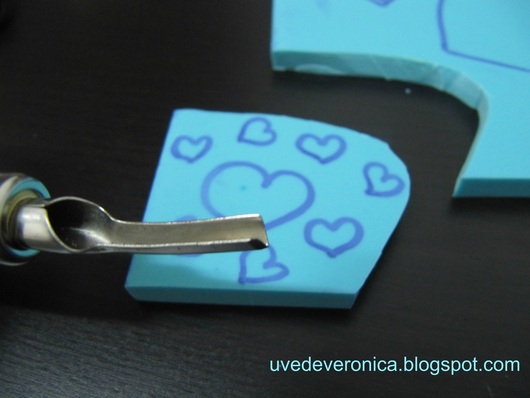
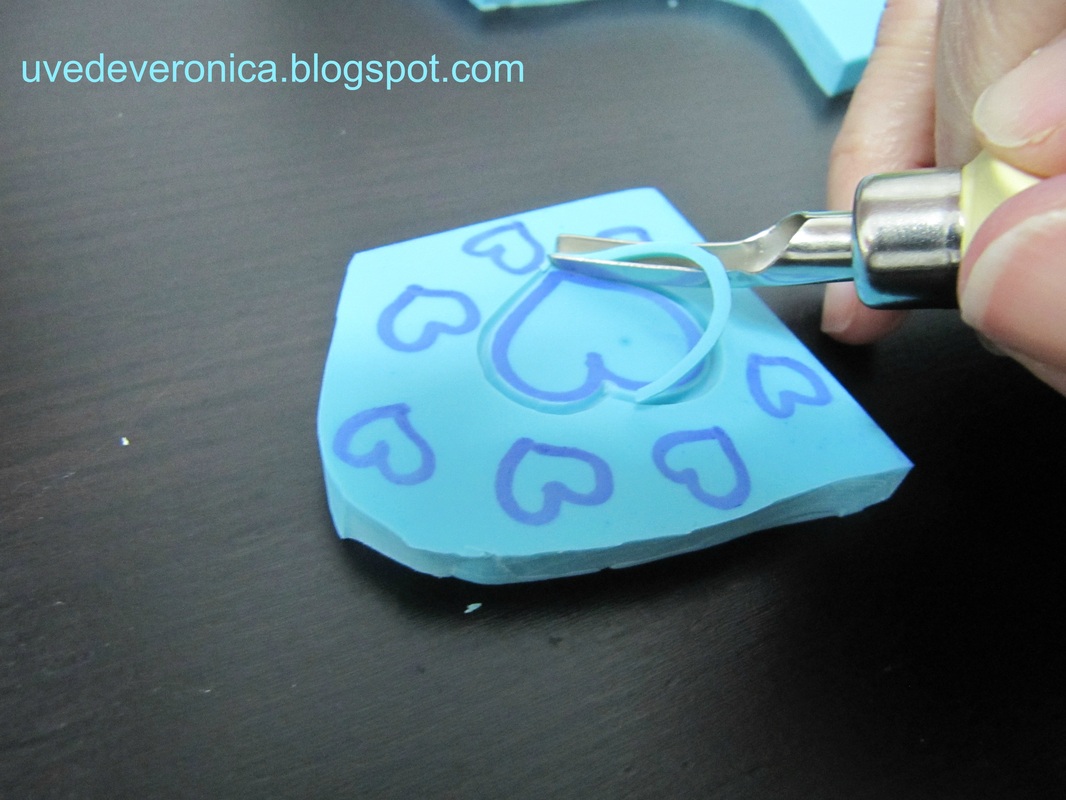
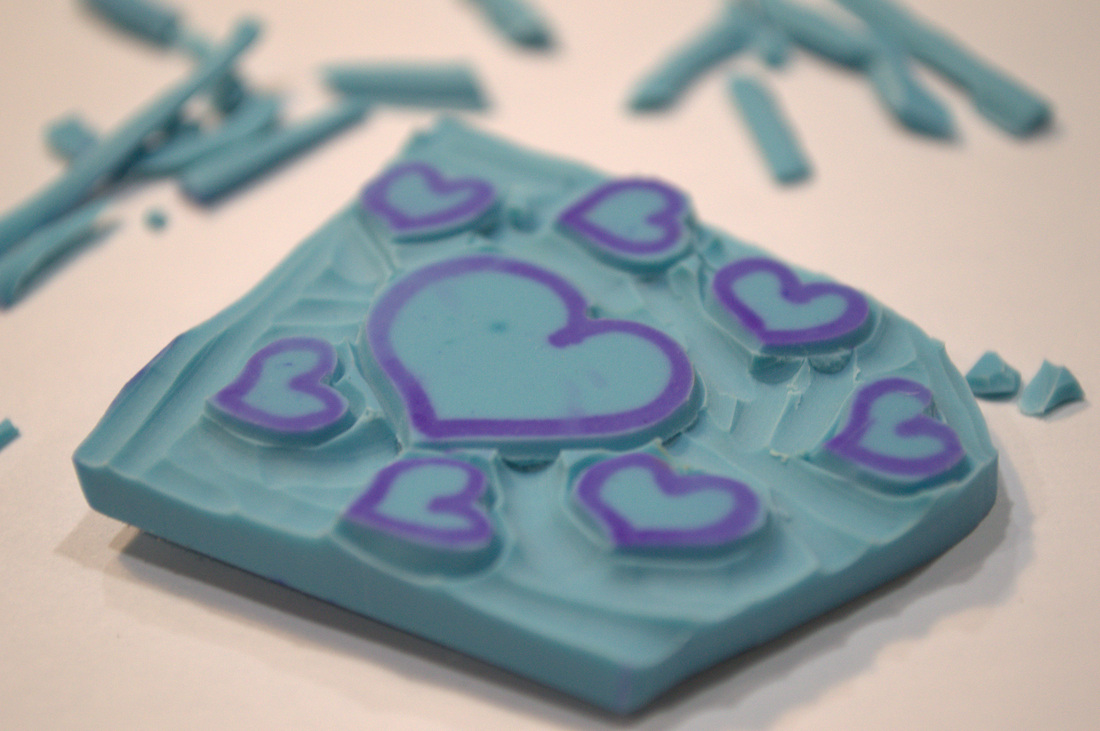
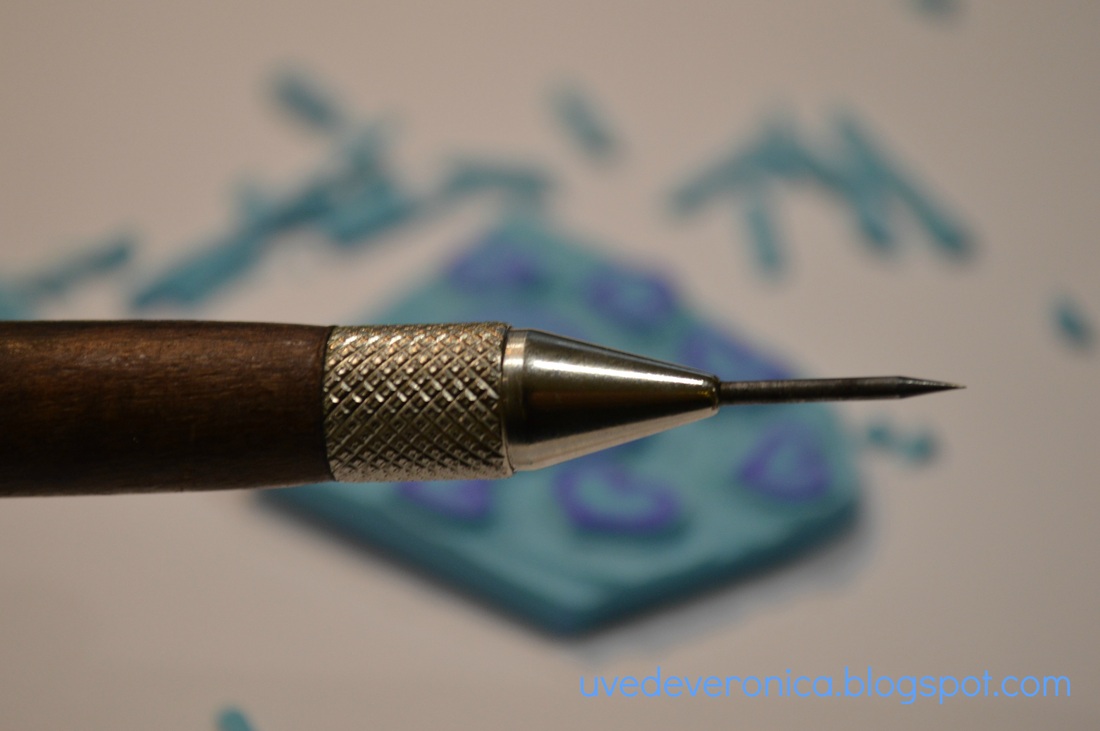
Next I use the smallest carving tip and carve around the silhouette.
Technique: for curvy shapes I just move the carving block and I do not raise the linoleum cutter.
Technique: for curvy shapes I just move the carving block and I do not raise the linoleum cutter.
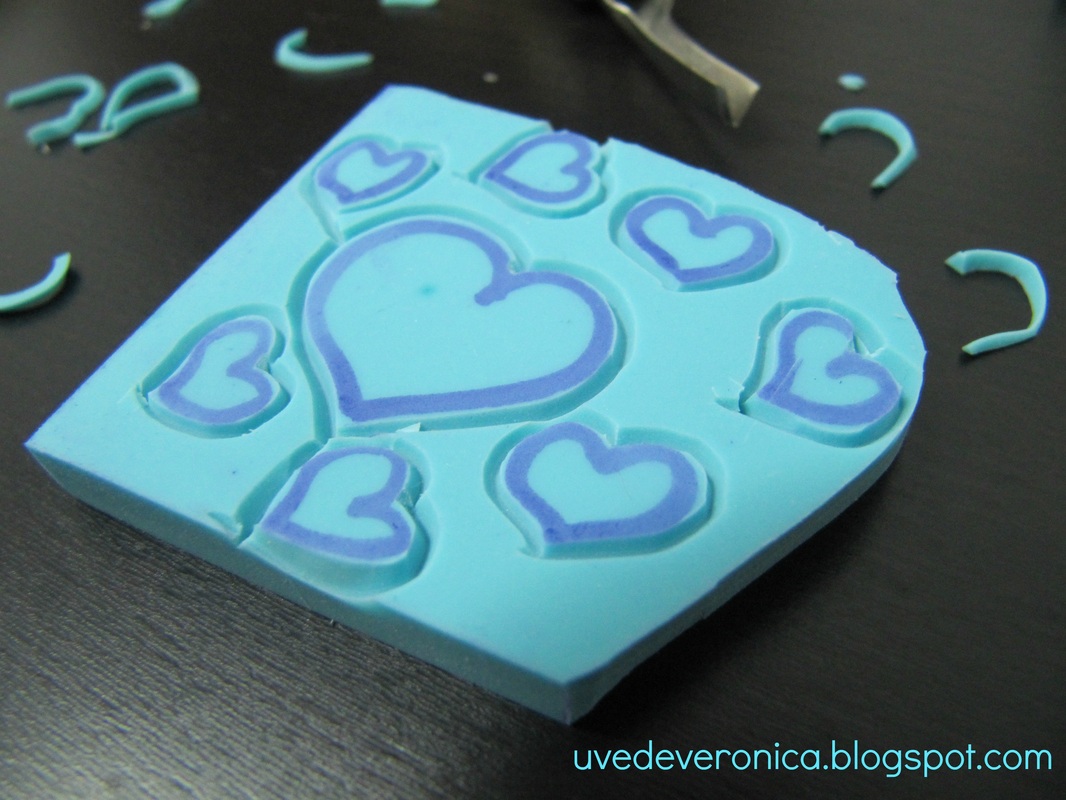

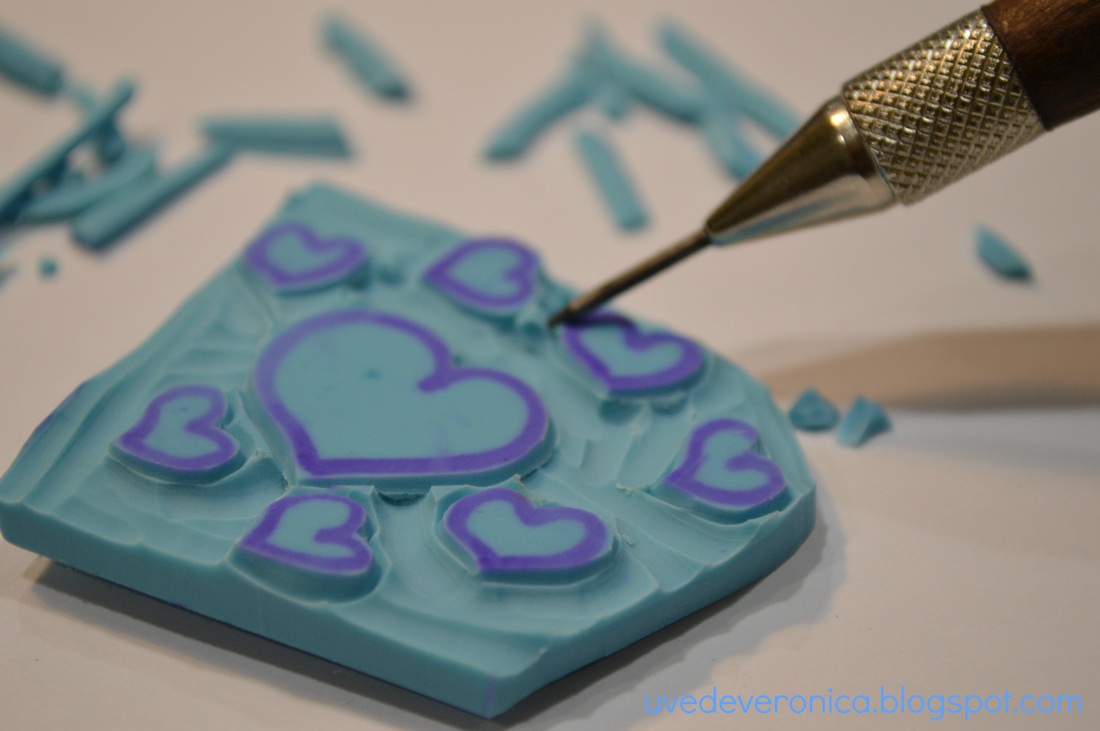
BIG AREAS WITHOUT DETAILS:
In big areas that are not to be stamped, we will use the rounded tip and we will remove the edges and anything we don’t need.
In big areas that are not to be stamped, we will use the rounded tip and we will remove the edges and anything we don’t need.
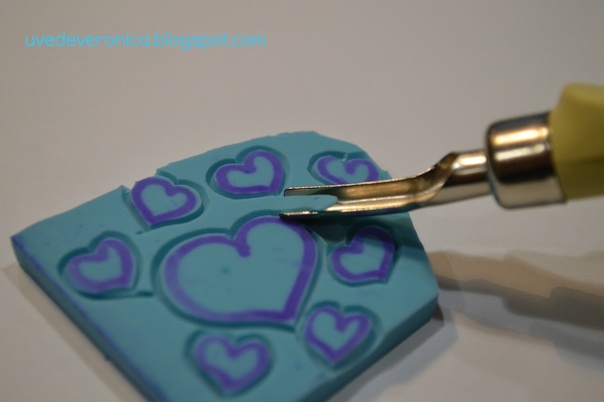


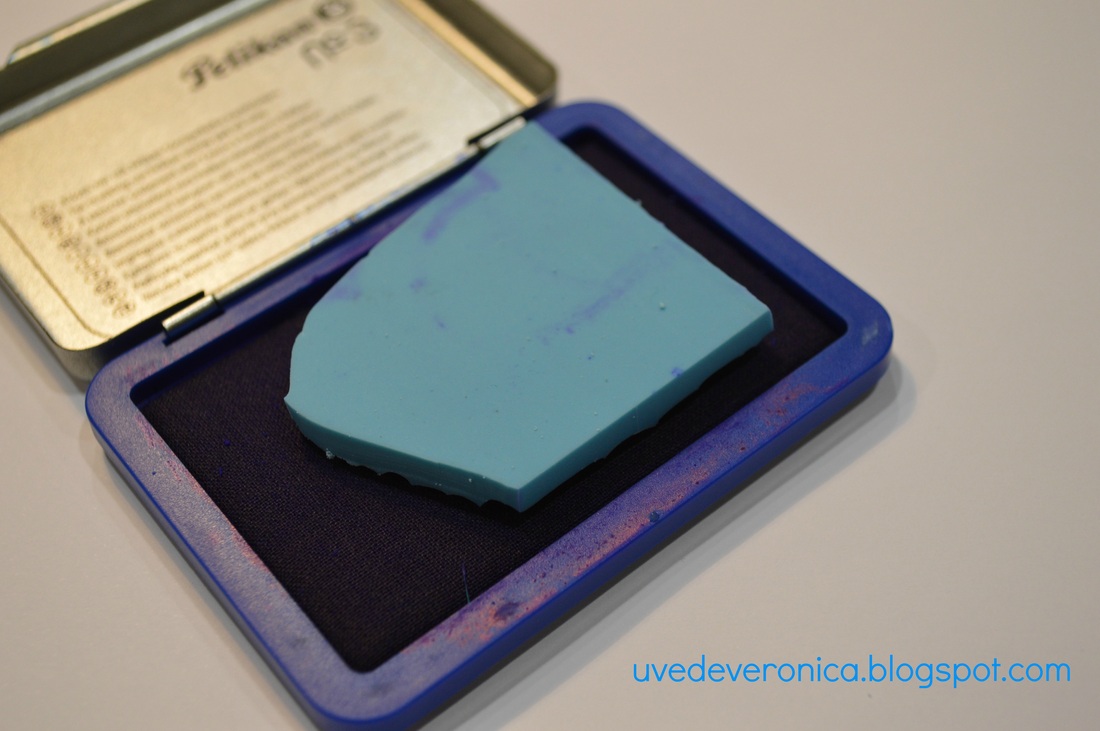
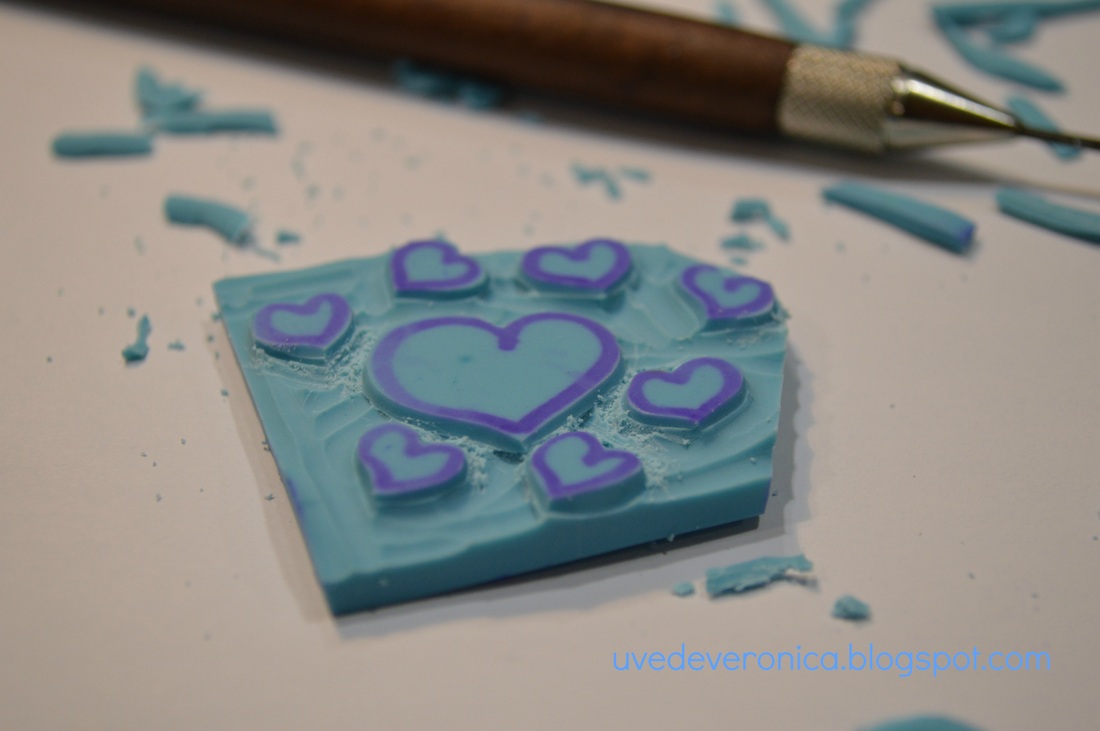
Now it’s time to test the stamp so we can see any little flaw (or not).
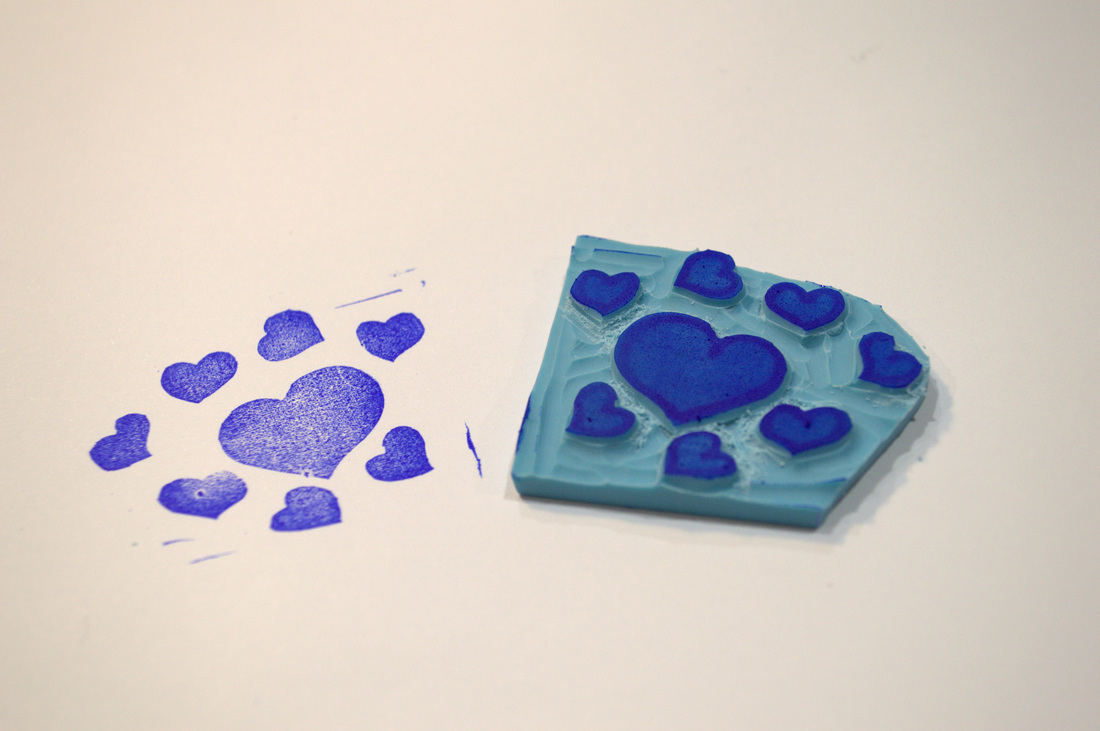
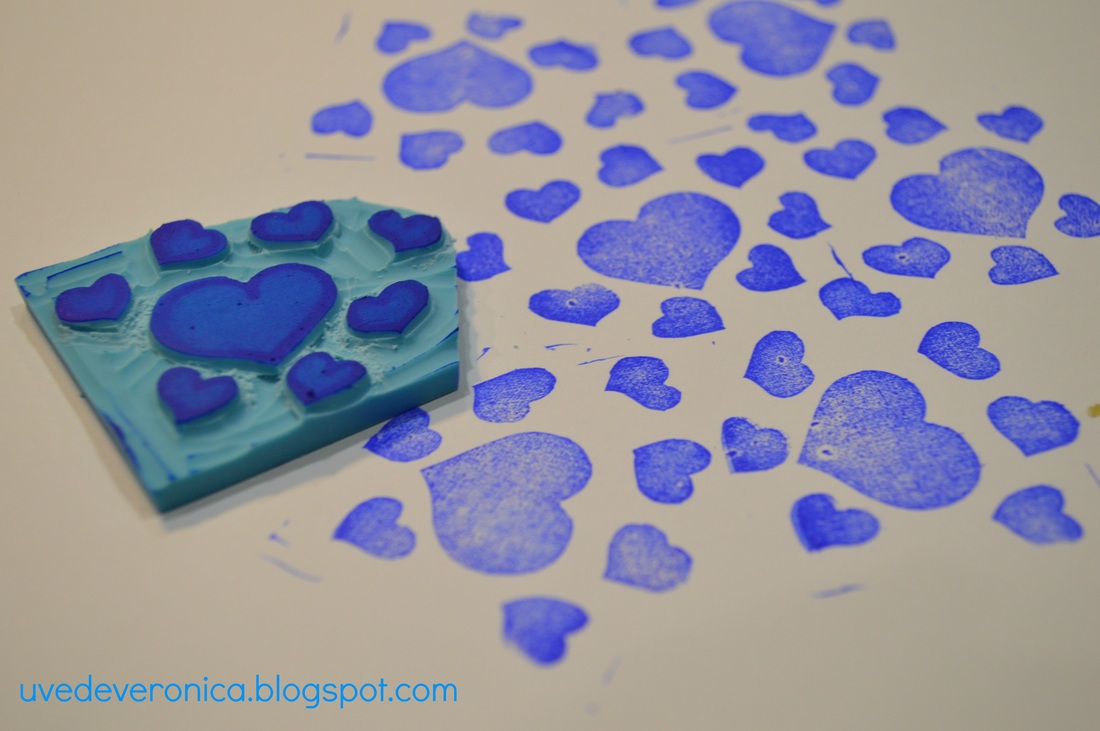
I usually use the punch for little details and the cutter for cutting the block I have not used. We have our stamp ready!
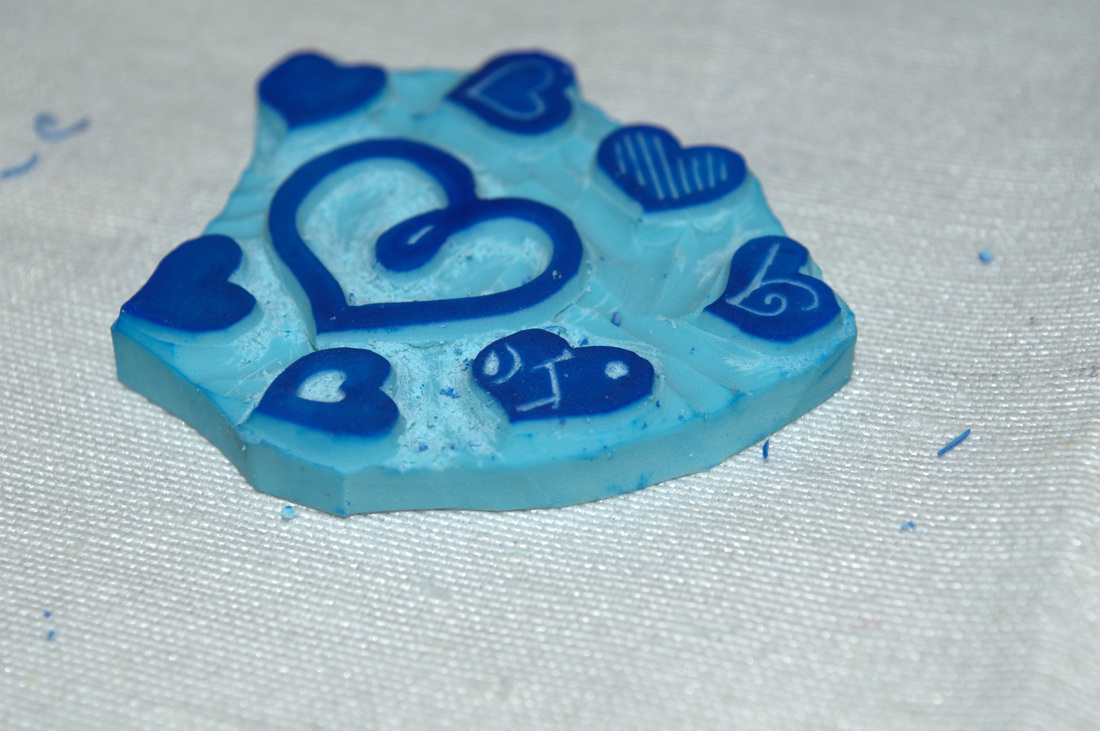
Never stop stamping and dreaming
I make customized stamps, if anyone is interested you can contact me to: [email protected]. More information http://uvedeveronica.blogspot.com.es/
I make customized stamps, if anyone is interested you can contact me to: [email protected]. More information http://uvedeveronica.blogspot.com.es/
Thanks for Visiting us Today!
You might also like:
You might also like:


 RSS Feed