
|
|
|


|
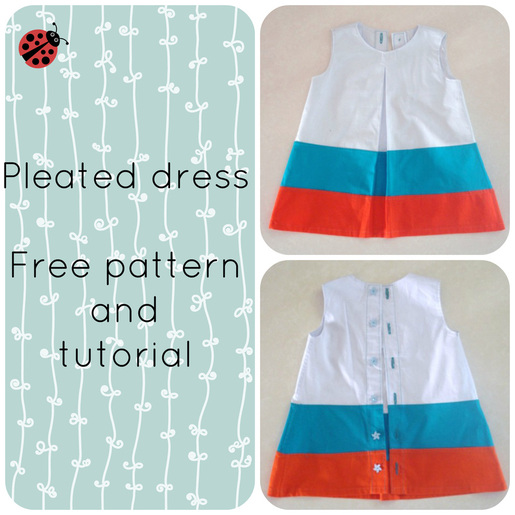
Instructions:
1. Cut the patterns
2. Place pieces number 5 and 6 together and close the sides.
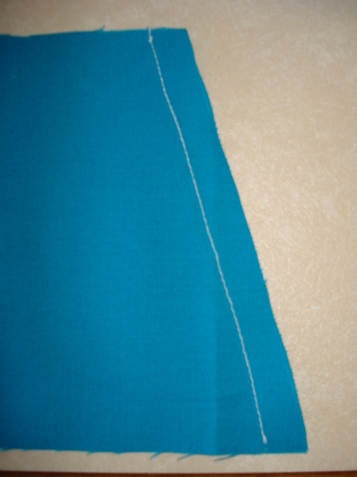
3. Repeat the procedure on pieces number 7 and 8.
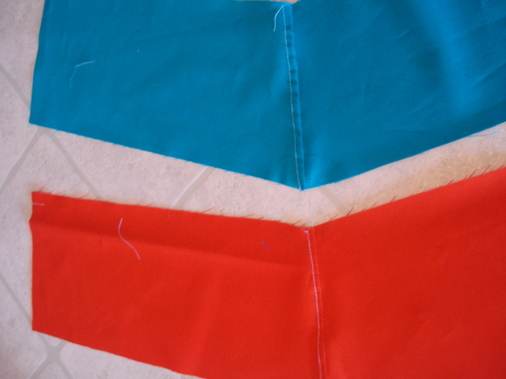
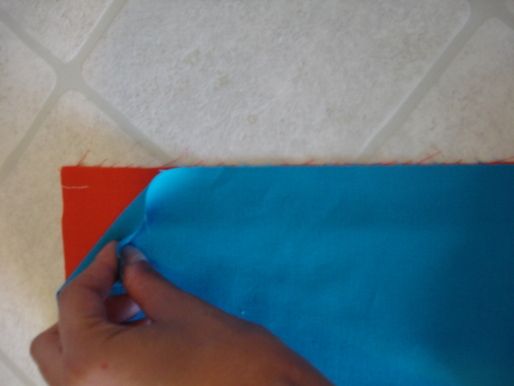
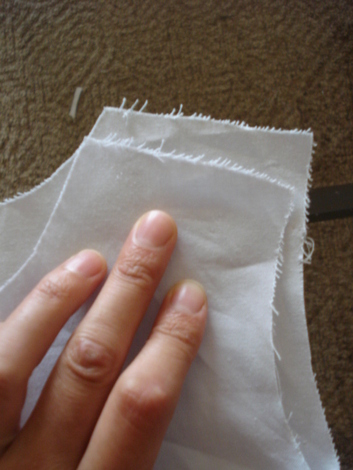
4. Place pieces together, with their right sides facing each other. Then, sew them.
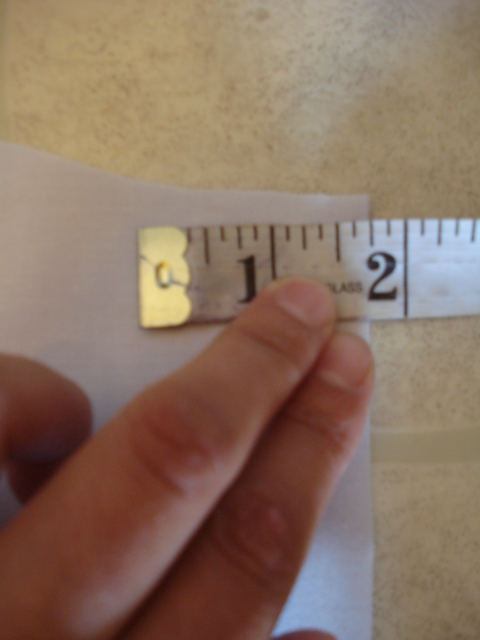
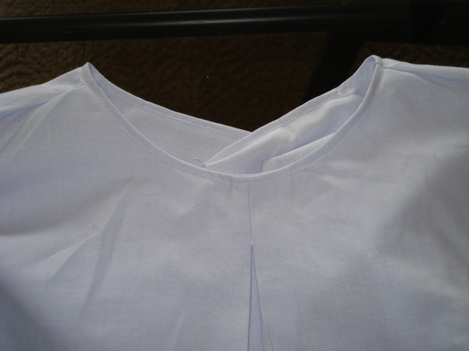
5. Piece number 1: Fold it in half and measure 1 3/4 inch from the middle area. Mark it making a 3 inch vertical line.
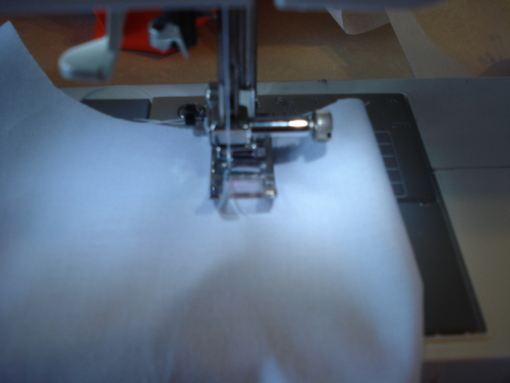
6. Sew on the vertical line you have just made.
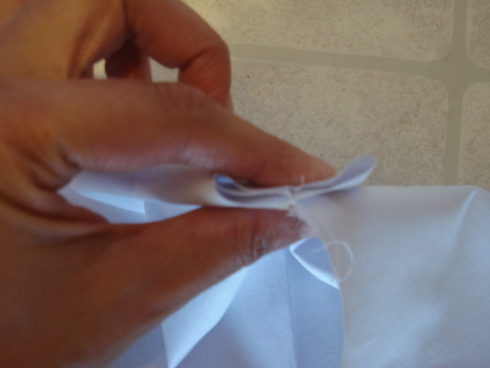
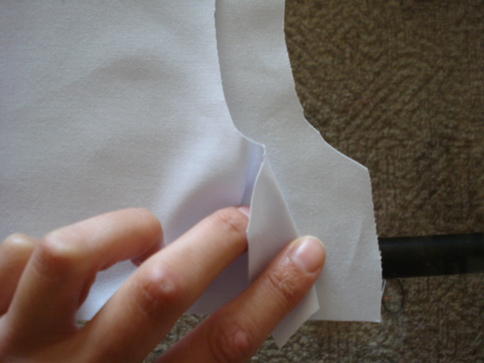
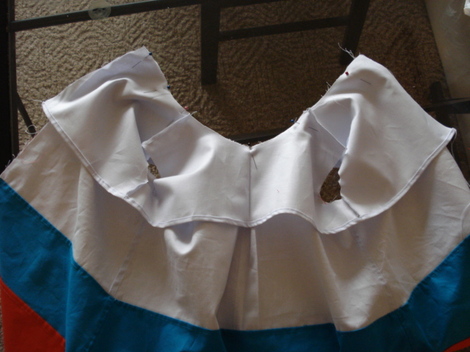
7. Open the top and fold the middle area, making a pleat. Then press it and TOP stitch the neck line of your top to keep it in place.
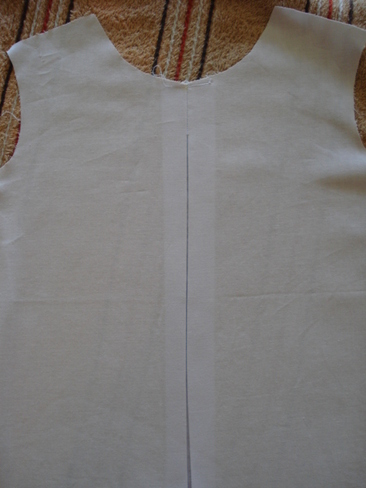
9. Lay the front top and the back top pieces together, right sides facing.
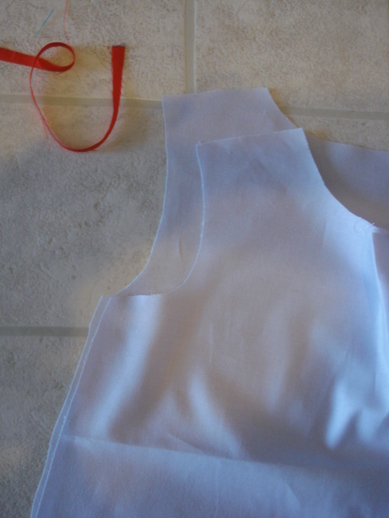
10. Close the sides and the shoulders.
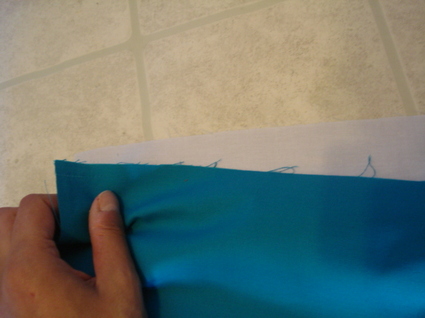
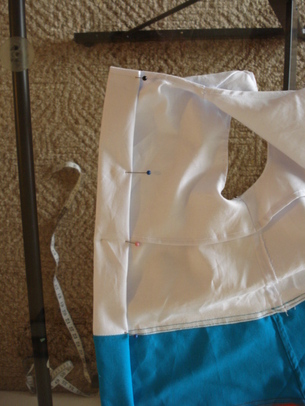
11. Place the bottom and the top of your dress together, right sides facing. Pin it and sew them.
12. Facing: Place pieces 3 and 4 (top facing) together and sew the sides and shoulders.
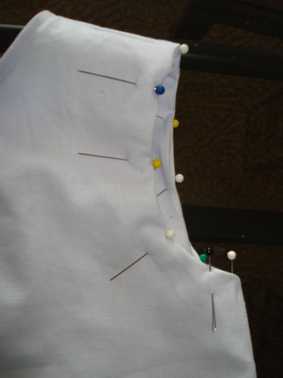
13. Place the dress and the facing together, with their right sides facing. Pin the neck area and sew it.
14. Turn it to the right side and top stitch the neck area.
15. Pin the armhole and the armhole facing together, making a ¼ inch seam allowance. Then sew them.
16. Fold the right side of the back, making a 2 inch buttonhole area; then, sew it. Repeat with the left side.
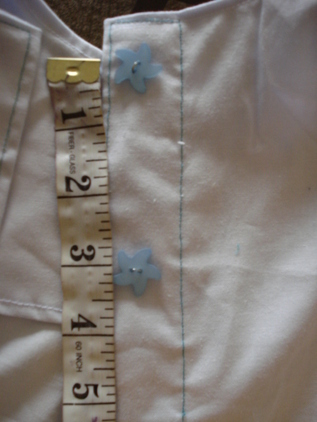
17. Place the buttons leaving 3 inches distance between them.
18. Mark the left side of the back following the distance of the buttons on the right side.
19. Change your regular presser foot from your sewing machine to the buttonhole foot.
20. Set your sewing machine to make the buttonhole.
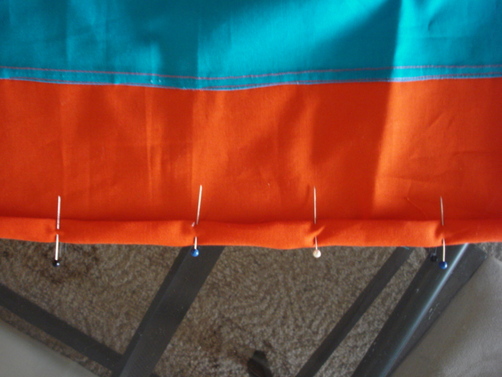
21. To finish your dress, double fold the hem by ½ inch and pin it.
19. Change your regular presser foot from your sewing machine to the buttonhole foot.
20. Set your sewing machine to make the buttonhole.
21. To finish your dress, double fold the hem by ½ inch and pin it.
22. Then, sew it.
And it is ready!
I hope you have enjoyed this tutorial :)
Happy sewing!
And it is ready!
I hope you have enjoyed this tutorial :)
Happy sewing!
8. Iron thoroughly.