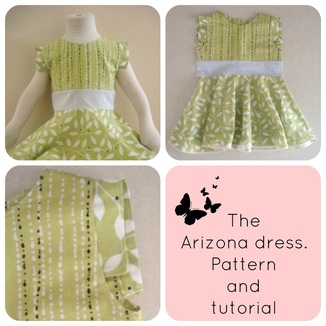
This is the most recent creation at On the Cutting Floor: The Arizona dress.
You are welcome to print the patterns and tutorials for your personal use. If you want to share this pattern with your friends and family, please refer them to this website, you will be making me a huge favor :) (and in that way I can keep uploading FREE patterns)
Please, do not sell these patterns or publish them as your own. Because it is not cool! LOL.
If you want to feature this website on your blog, please contact me. I will be more than happy to answer back to you ASAP. You might wonder about the name for it. Here is the story.
I am a big fan of Grey's Anatomy, and if you love this show too, you will know that one of the main characters is called Arizona. Well, it happens that I was thinking about dress patterns and how to make them different while watching one of the episodes of the show.
Then, my inspiration came. Arizona was wearing a gorgeous asymmetrical red dress with square sleeves! And that was it. I loved the sleeves and I knew it will be easier enough to make them on my own LOL.
If you want to check on a picture of the inspiration, click here.
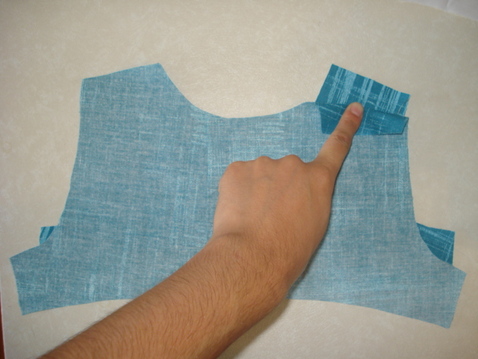
1. Place the front and the back of the bodice together, right sides facing. Pin it and sew the shoulders and the sides of it. When finished, put it aside. Repeat the procedure with the front and back facing.
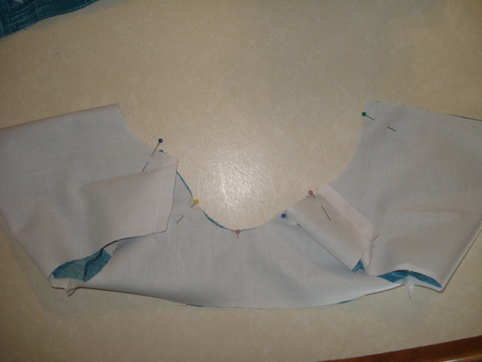
2. Place the bodice and facing, right sides together and pin them. Then, sew the neckline from the front and back.
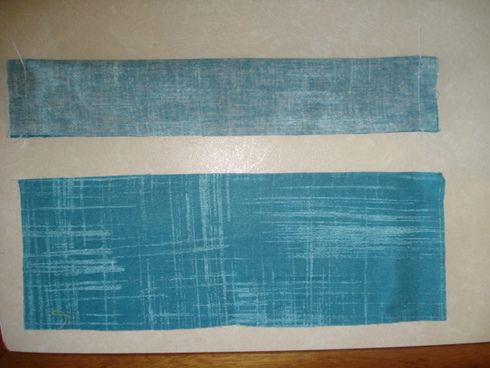
3. Trim the excess fabric from the neckline. 4. Turn around and put it aside. 5. Sleeves: fold the sleeves lengthwise and sew the the sides of it.
6. Turn them around and top stitch the sides.
7. Place the sleeves on the bodice, pinning them carefully, so you make sure that the outside and inside of the dress are well-finished.
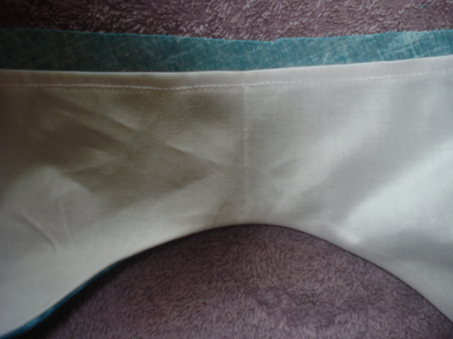
8. Double fold by 1/4 inch the bottom of the facing, as shown in the picture below.
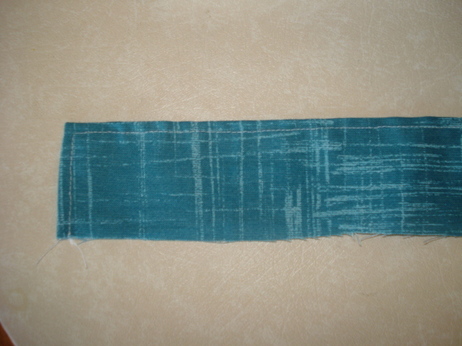
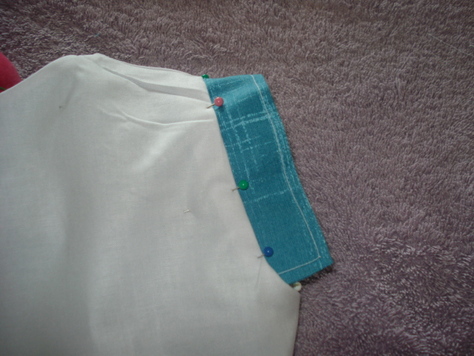
9. Place the waist band and the bodice together, right sides facing and sew.
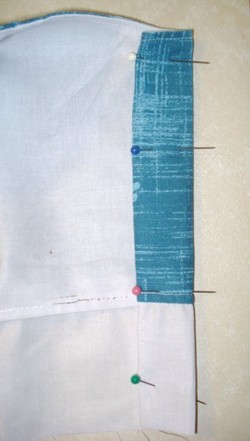
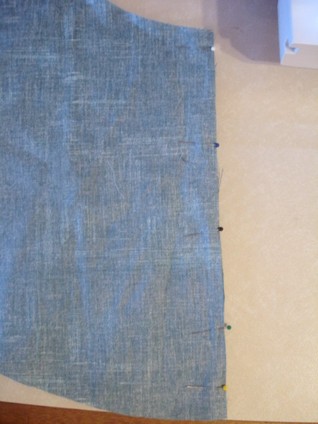
10. Double fold the back of the dress, both sides, by 1 inch. Pin them and sew a rectangular, covering the bodice and the waistband length.
Please follow the instructions on your sewing machine to make the buttonholes accordingly.
11. Top stitch the neckline of the dress.
12. Skirt: Place the front and the back of the skirt together. Pin and sew the sides.
13. Place the skirt and the bodice together, right sides facing. Pin and sew it as shown below. Notice that the buttonhole area is overlapped.
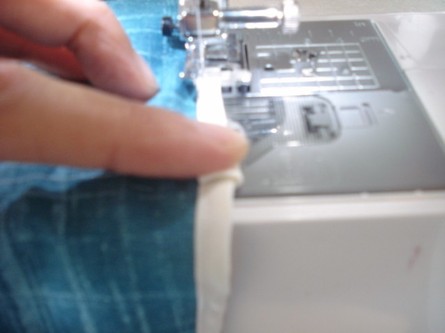
14. Now, the finish hemline is made with a bias tape in contrasting color. Pin it to the skirt hemline and sew it in place. Remember to start form the back seam so the finish look will me better.
15. When reaching the end of the bias tape, fold it to the inside of the skirt and carefully, stitch in the area.