
The Scallops pants tutorial
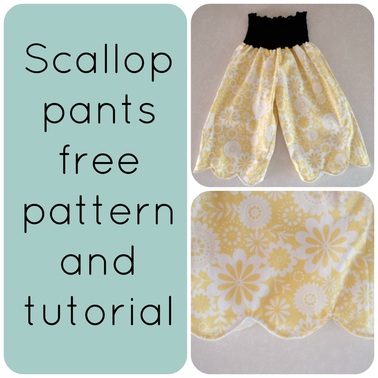
How to make the scallops pants
Instructions: 1. Fold the pant pieces in two, right sides facing, so the front and the back of the pants will be together. Pin and sew them. 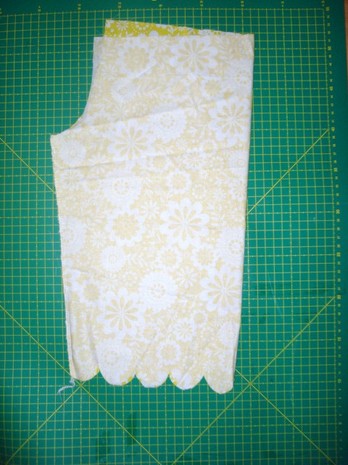
2. Now take the two legs and pin the crotch area. Then, sew it together.
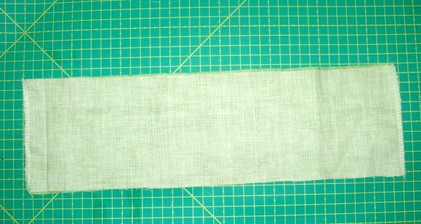
3. Take the waist band and sew the sides of it.
4. Place the waist band with the pants, right sides facing together. Pin and sew it.
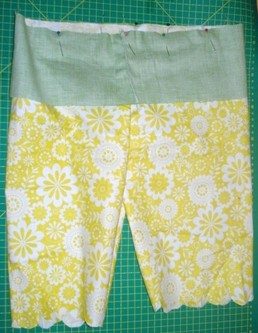
Be careful of placing the seam of the waist and the back seam together as shown below. 5. Turn around and double fold the top of the waist band 1/4 inch. Pin and sew it. 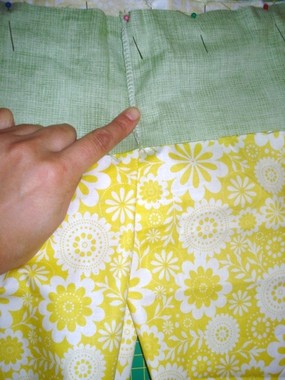
6. Scallop hemline: Fold the hemline sides as shown in the picture below.
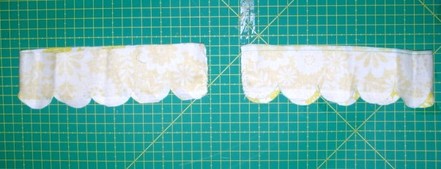
7. Double fold the top of the hemline by 1/4 inch and sew it.
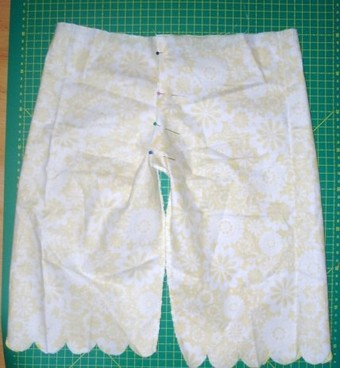
8. Place them with the rest of the pants, right side facing each other. Pin each scallop and sew it. 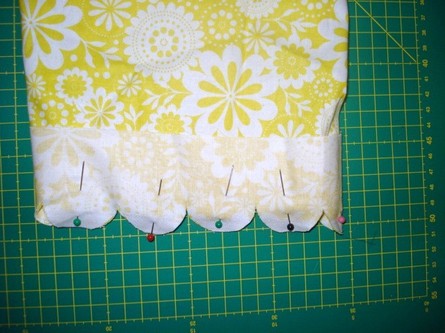
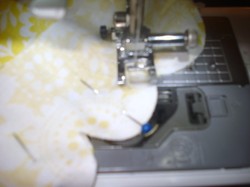
9. For better results, choose a shorter stitch length to go through the scallops.
When getting to the corner of the scallops, release the presser foot and manually move the pants to face the next curve. Put the presser foot down again and continue sewing.
10. Now turn them around and iron them thoroughly. After that, top stitch the scallops and secure the inner seams by making a few stitches on the area, as shown below. 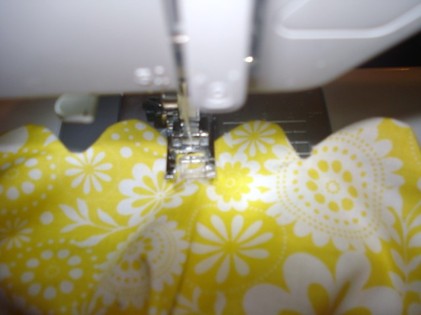
11. Shirred waistband: use regular thread for the spool.
12. And elastic thread at the bottom. For better results, place the elastic thread manually on the bobbin. As shown below, I left the elastic thread hanging out from the bobbin case, so it will be easier for the needle to catch it and start shirring. The setting for the sewing machine should be the longest stitch length from your machine. 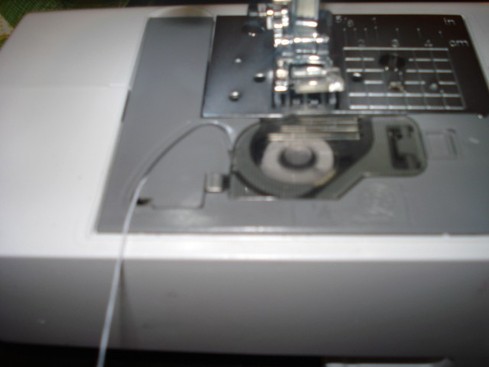
13. Place the waistband right side facing up the needle, so the elastic thread will show in the inside of the pants.
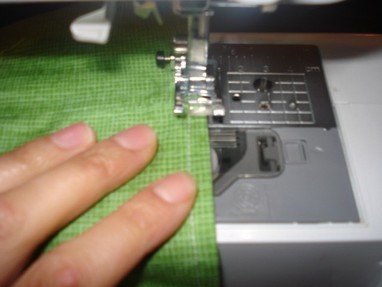
14. Start with the first row, very close to the top. Keep making straight parallel lines with a 1/4 inch space between them. The shirring will start showing more and more with more lines you make.
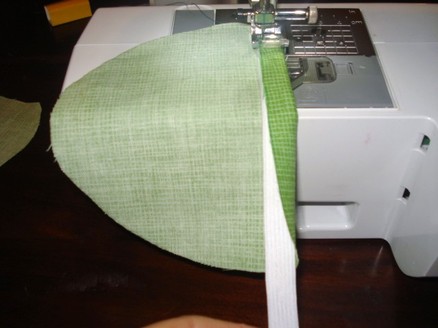
15. Pocket: Place the pocket and the 1/2 inch elastic on the sewing machine. Make a few initial stitches to secure the fabric and elastic. Then, pull the elastic and sew.
16. Place the pocket on the pants. Measure how high should be put it.
I personally like the pockets to be a little lower, like the cargo pants, but that is optional. Fold the pocket by 5/8 inch to the inside, pin it in place. Check that the pins are only holding the front of your pants. Sew it. 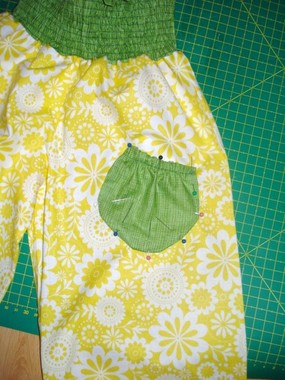
And they are ready!
Thanks for reading this post. I hope you enjoy it and let me know what your think! |
|