


Hello there,
Thanks for stopping by today.
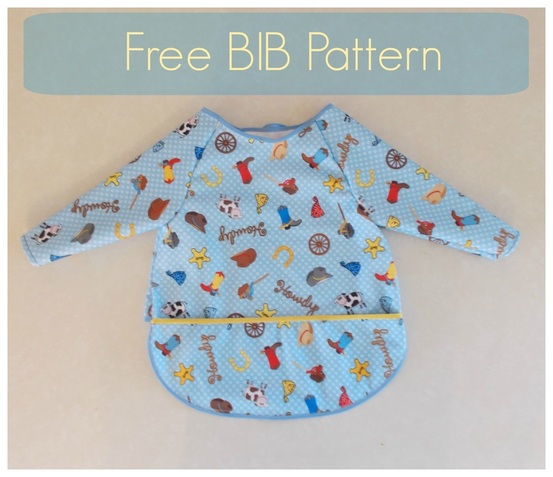
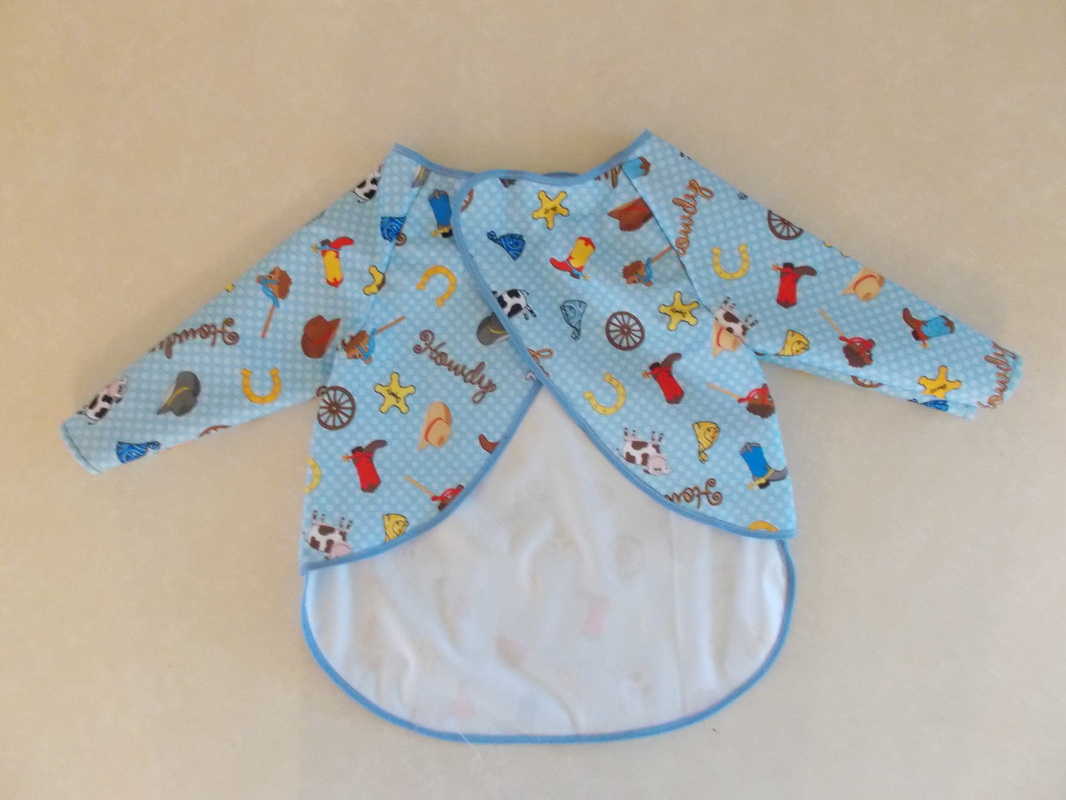
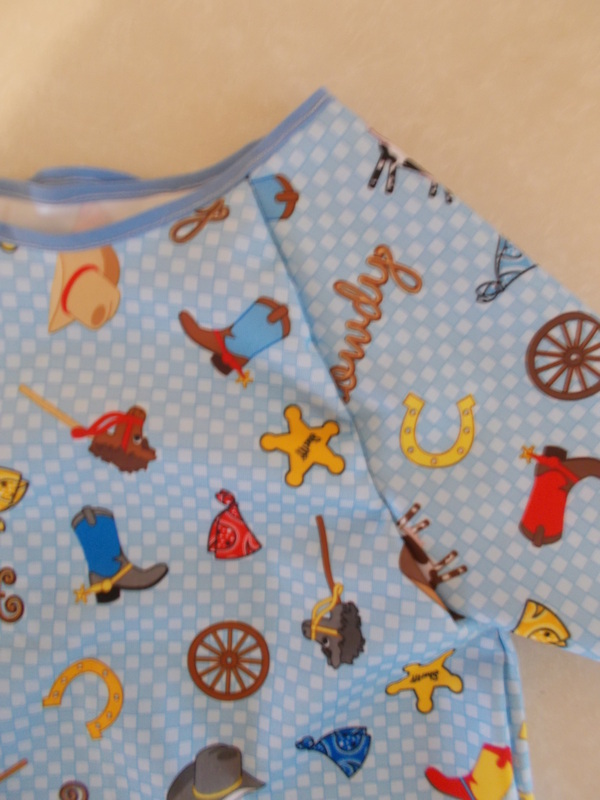
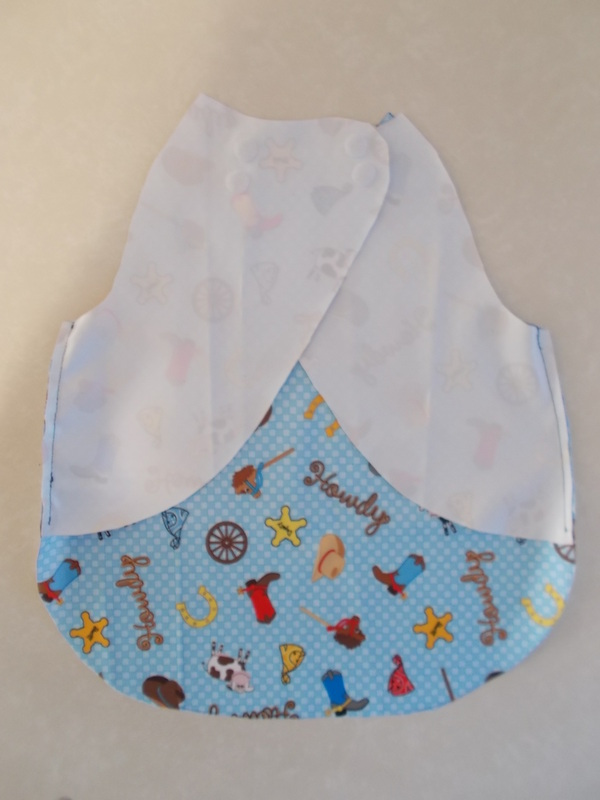
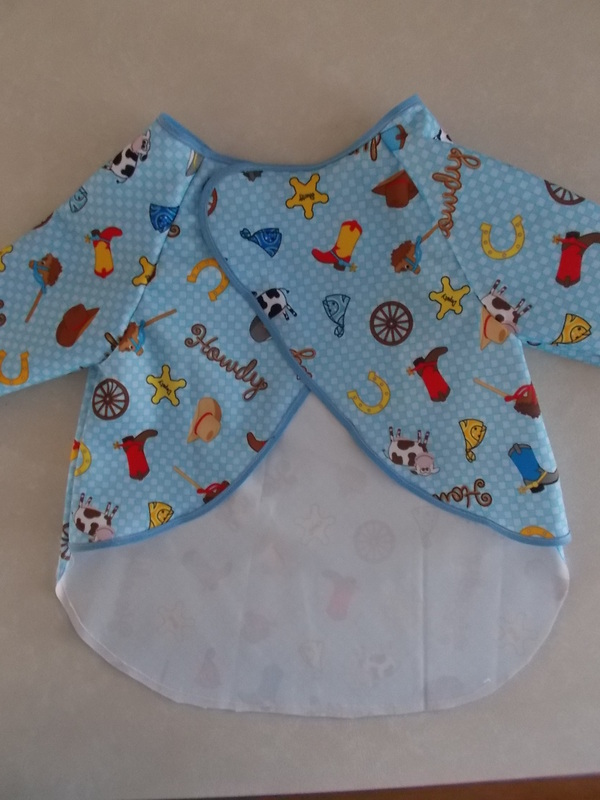
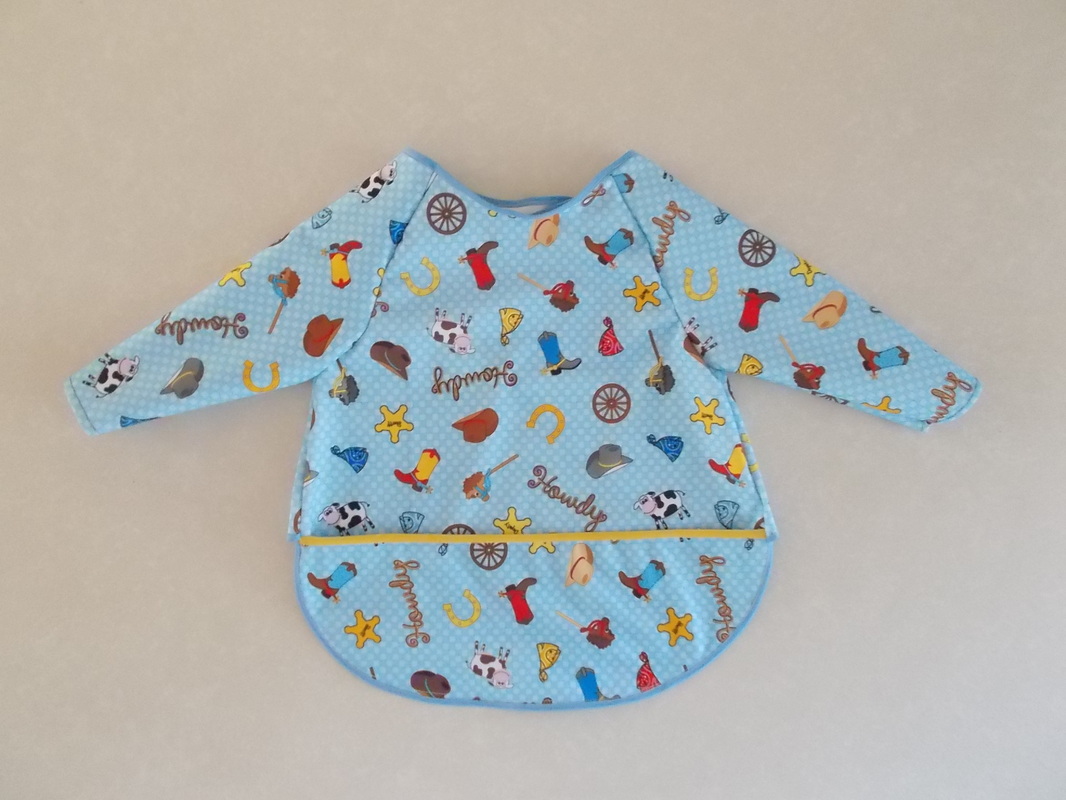
The project I have created is a long sleeve bib.
I believe that it is a truly practical project; very useful and really easy to make. So, if you are looking for a weekend sewing retreat...hey, you are in the right place!
Materials:
- 1/2 yard of babyville fabric. I liked it because it is laminate, easy to use and so cute!
(You can always use your favorite fabric and laminated)
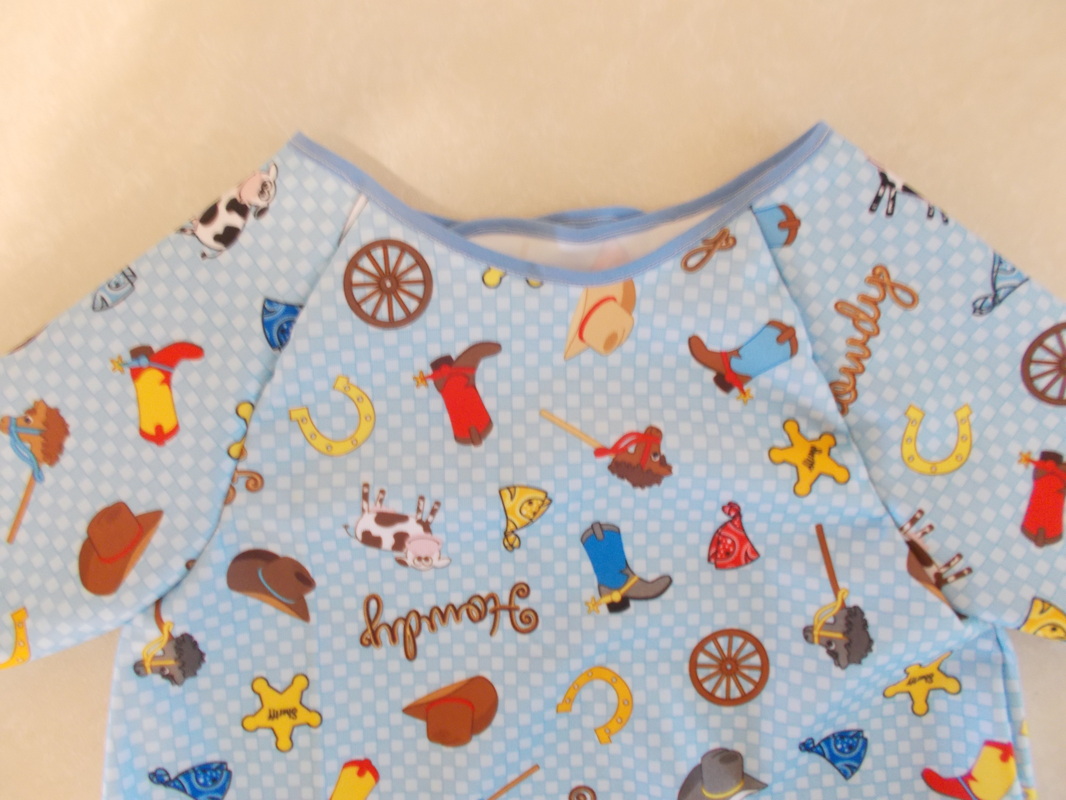
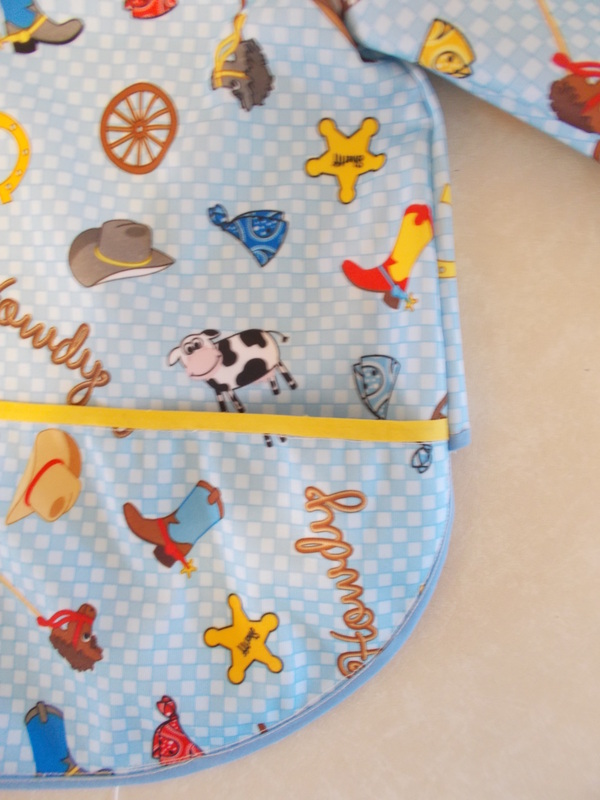
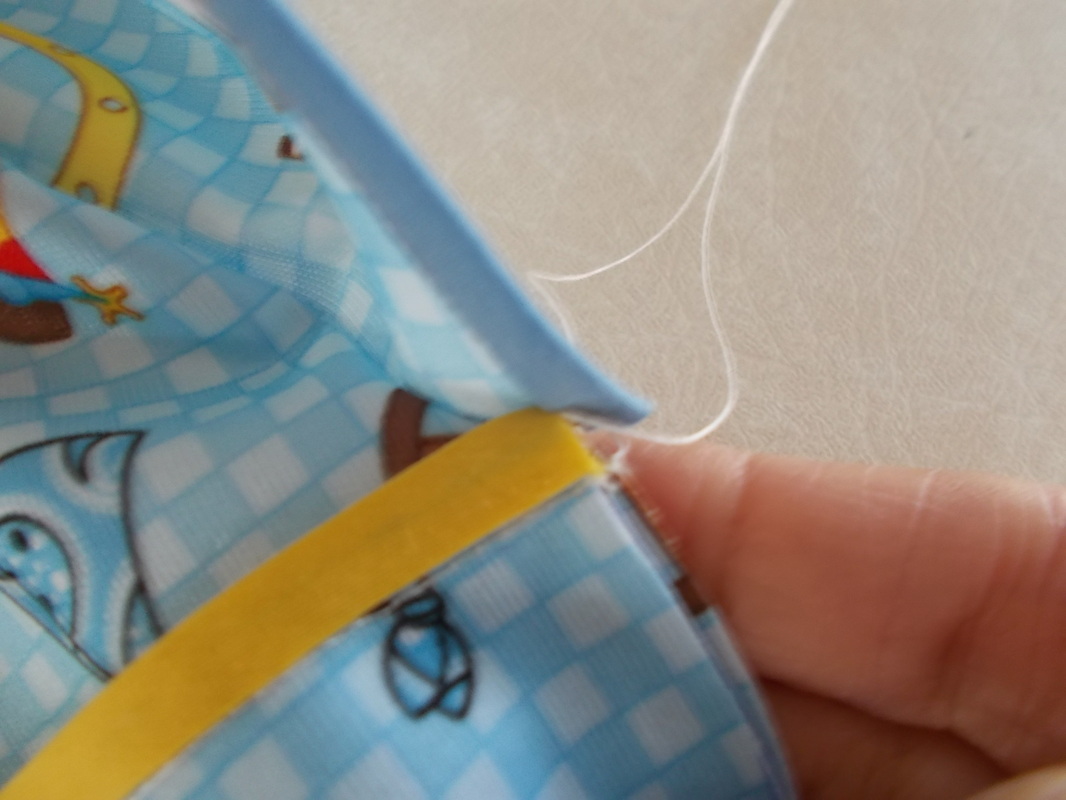
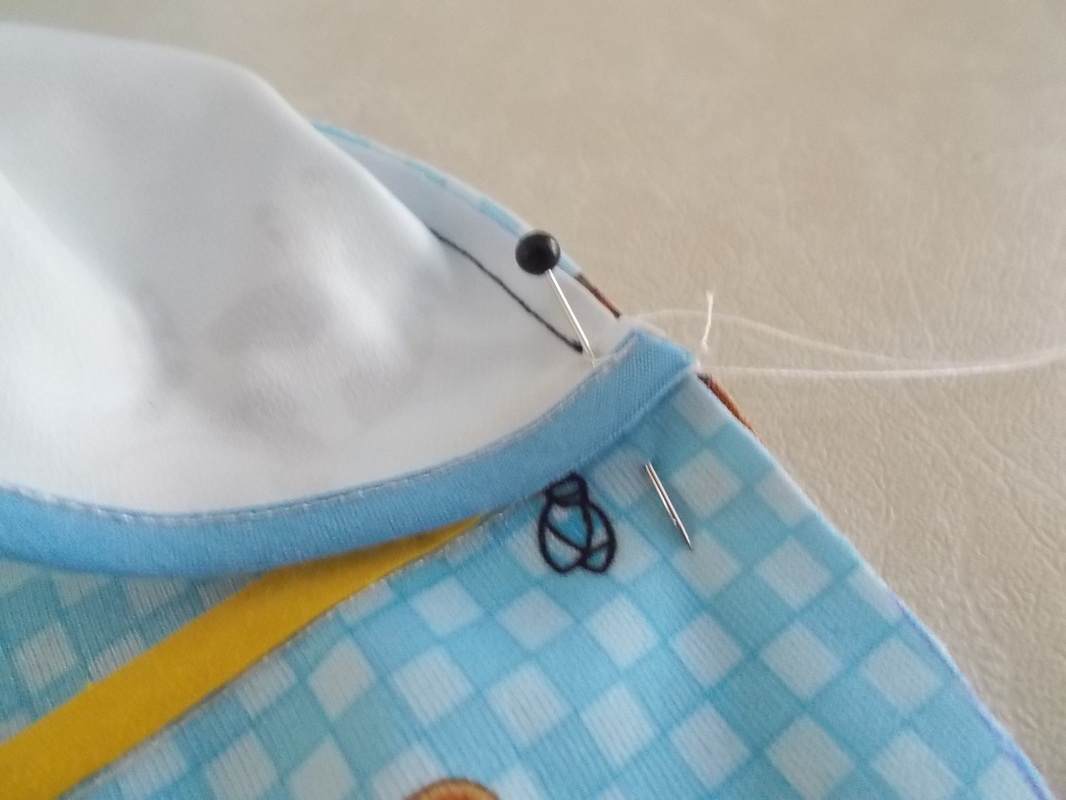
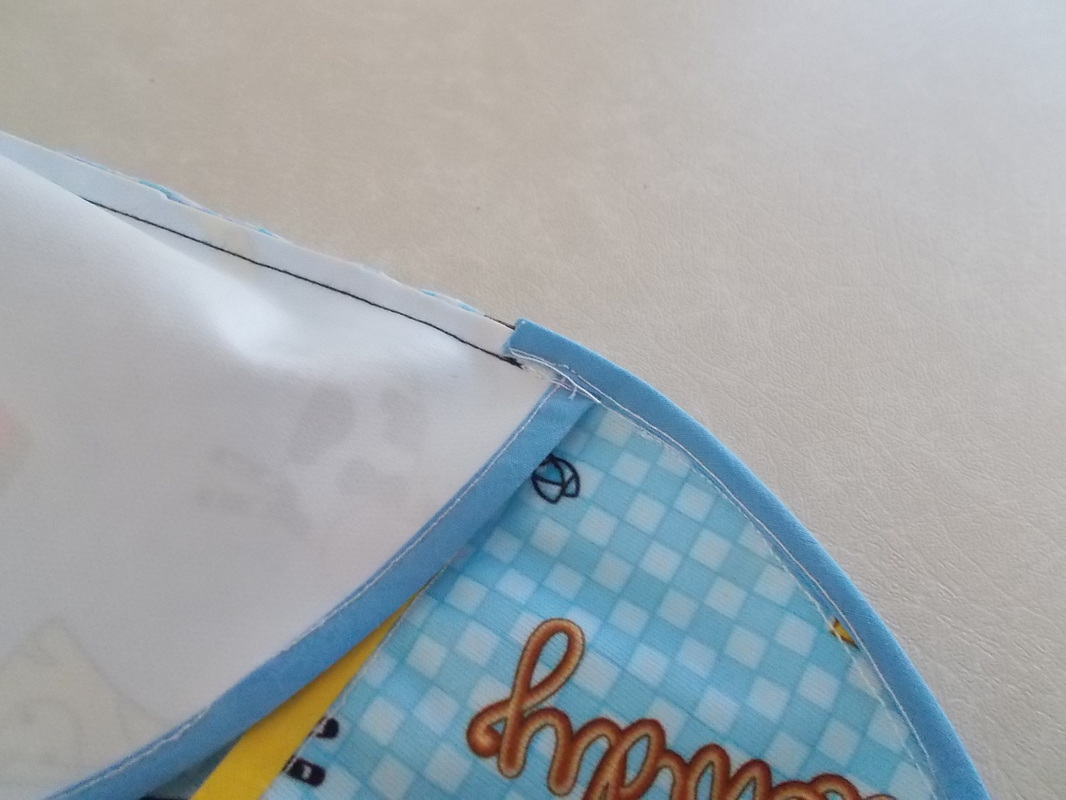
- 1 yard of double folded bias tape (I decided to make 3/4 of a yard in one color and 1/4 on a contrasting one)
- Coordinating thread.
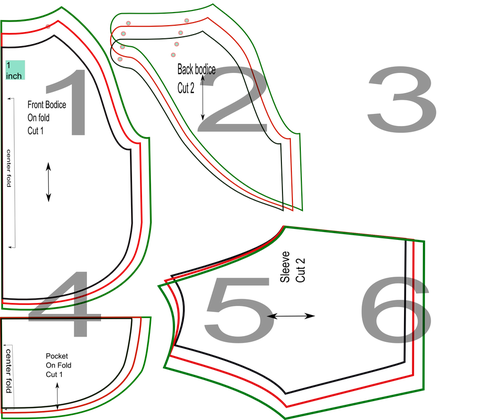
The pattern:
The pattern covers sizes:
Small: 12 to 24 months
Medium: 2T to 3T
Large: 3T to 4T
What I like about this idea, it is that the same pattern can be used with older kids during their art classes :)
Printing instructions:
This printable PDF pattern is assembled with 0.5 cms border for the pages, so it must be overlapped in order to get the correct size.
They are on letter size paper and A4 size.
To print this pattern, go the PDF document. Select FILE -- PRINT.
Here look for PAGE SIZING AND HANDLING and choose POSTER. This will make the pages to overlap by 0.5 cms. Press PRINT.
Wait until all the pages are printed before taking them from the printer; it will make it easier to assemble.
When finished printing, place the pages as the layout below. Then use tape to put them together. Now cut the pieces.
This will be the layout of the pattern:
Thanks for stopping by today.
The project I have created is a long sleeve bib.
I believe that it is a truly practical project; very useful and really easy to make. So, if you are looking for a weekend sewing retreat...hey, you are in the right place!
Materials:
- 1/2 yard of babyville fabric. I liked it because it is laminate, easy to use and so cute!
(You can always use your favorite fabric and laminated)
- 1 yard of double folded bias tape (I decided to make 3/4 of a yard in one color and 1/4 on a contrasting one)
- Coordinating thread.
The pattern:
The pattern covers sizes:
Small: 12 to 24 months
Medium: 2T to 3T
Large: 3T to 4T
What I like about this idea, it is that the same pattern can be used with older kids during their art classes :)
Printing instructions:
This printable PDF pattern is assembled with 0.5 cms border for the pages, so it must be overlapped in order to get the correct size.
They are on letter size paper and A4 size.
To print this pattern, go the PDF document. Select FILE -- PRINT.
Here look for PAGE SIZING AND HANDLING and choose POSTER. This will make the pages to overlap by 0.5 cms. Press PRINT.
Wait until all the pages are printed before taking them from the printer; it will make it easier to assemble.
When finished printing, place the pages as the layout below. Then use tape to put them together. Now cut the pieces.
This will be the layout of the pattern:
| | | | |


 RSS Feed